Quick Start
Features
This project is to be served as a basis for a fully fledged web application, it is constantly evolving and has many contributors. It has been converted into many languages, and more are being added every month. As with any project, nothing is perfect, I made this in my spare time and while I have used it for many people, there will always be bugs. If you find a bug please make an issue, also please refrain from making issues that are specific to your project and not the boilerplate. I hope you enjoy all of the hard work I have put into this, I plan on keeping it updated but I will definitely need help if anyone is available to research issues and make pull requests to fix them. Also, don't be insulted if I refactor your code after a pull request, I like to stay organized and keep the flow of the source uniform.
-
Access Control
- Register/Login/Logout/Password Reset
- Third party login (Github/Facebook/Twitter/Google/Linked In/BitBucket)
- Account Confirmation By E-mail
- Resend Confirmation E-mail
- Option for Manual Account Confirmation by Admin
- Login Throttling
- Enable/Disable Registration
- Single Login (Logout all other devices)
- Clear User Session
- Configurable Password History
- Password Expiration
-
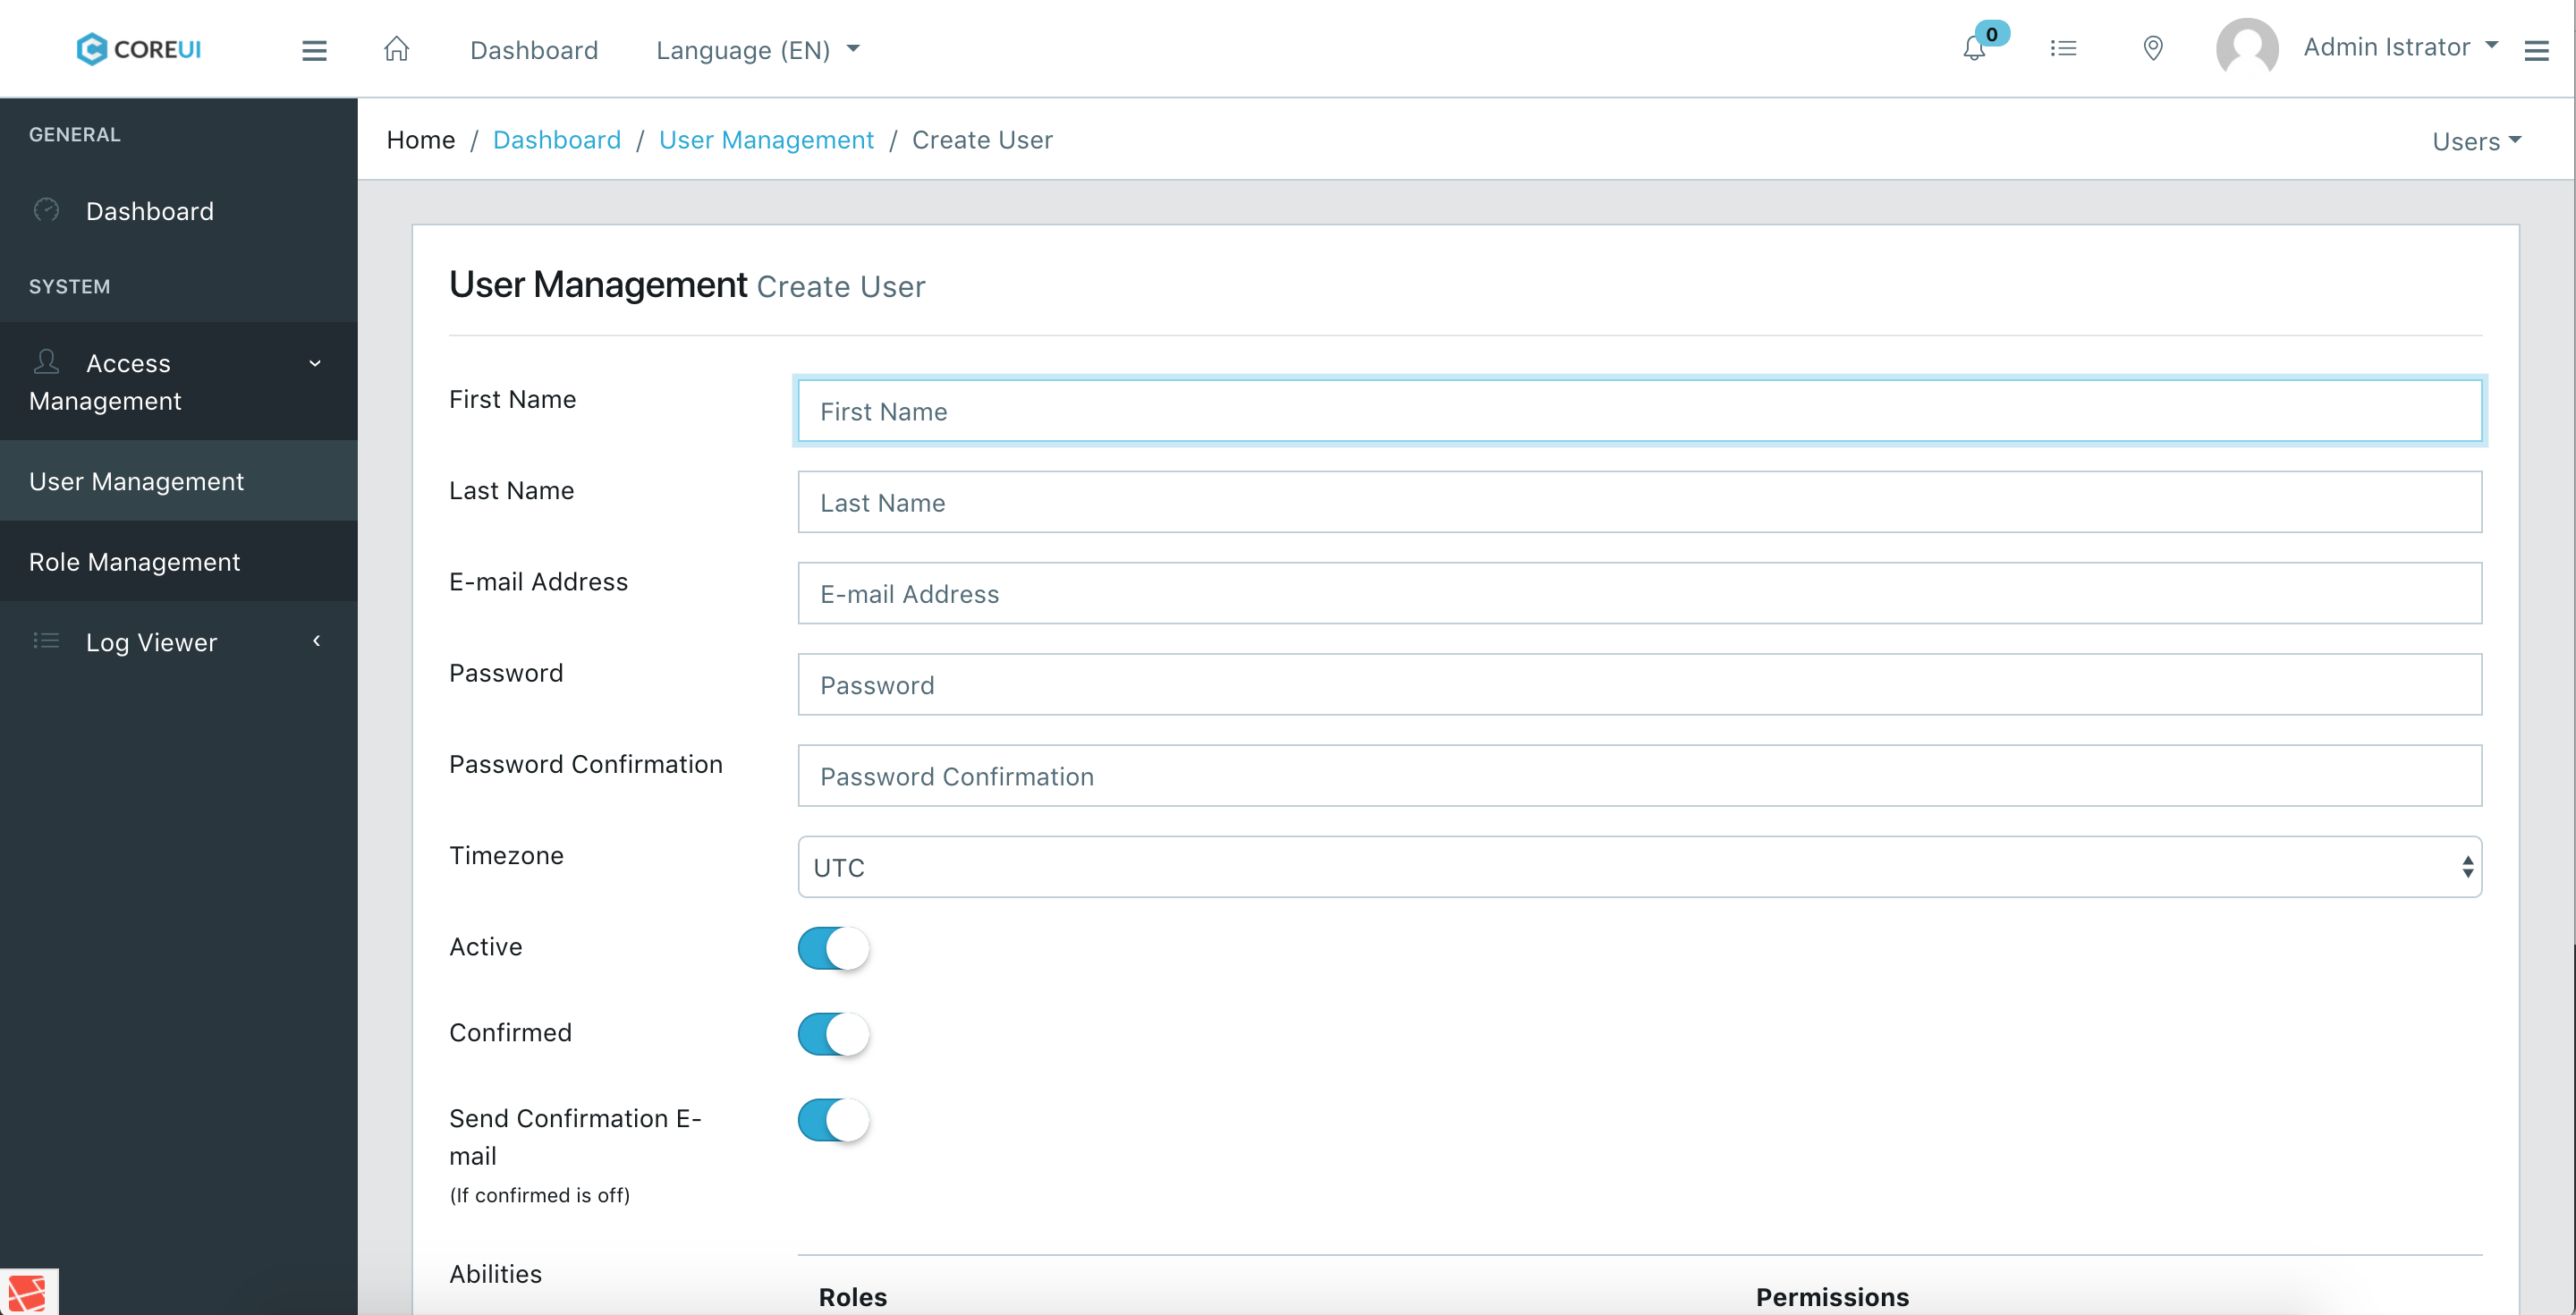
Administrator Management
- User Index
- Activate/Deactivate Users
- Soft & Permanently Delete Users
- Resend User Confirmation E-mails
- Change Users Password
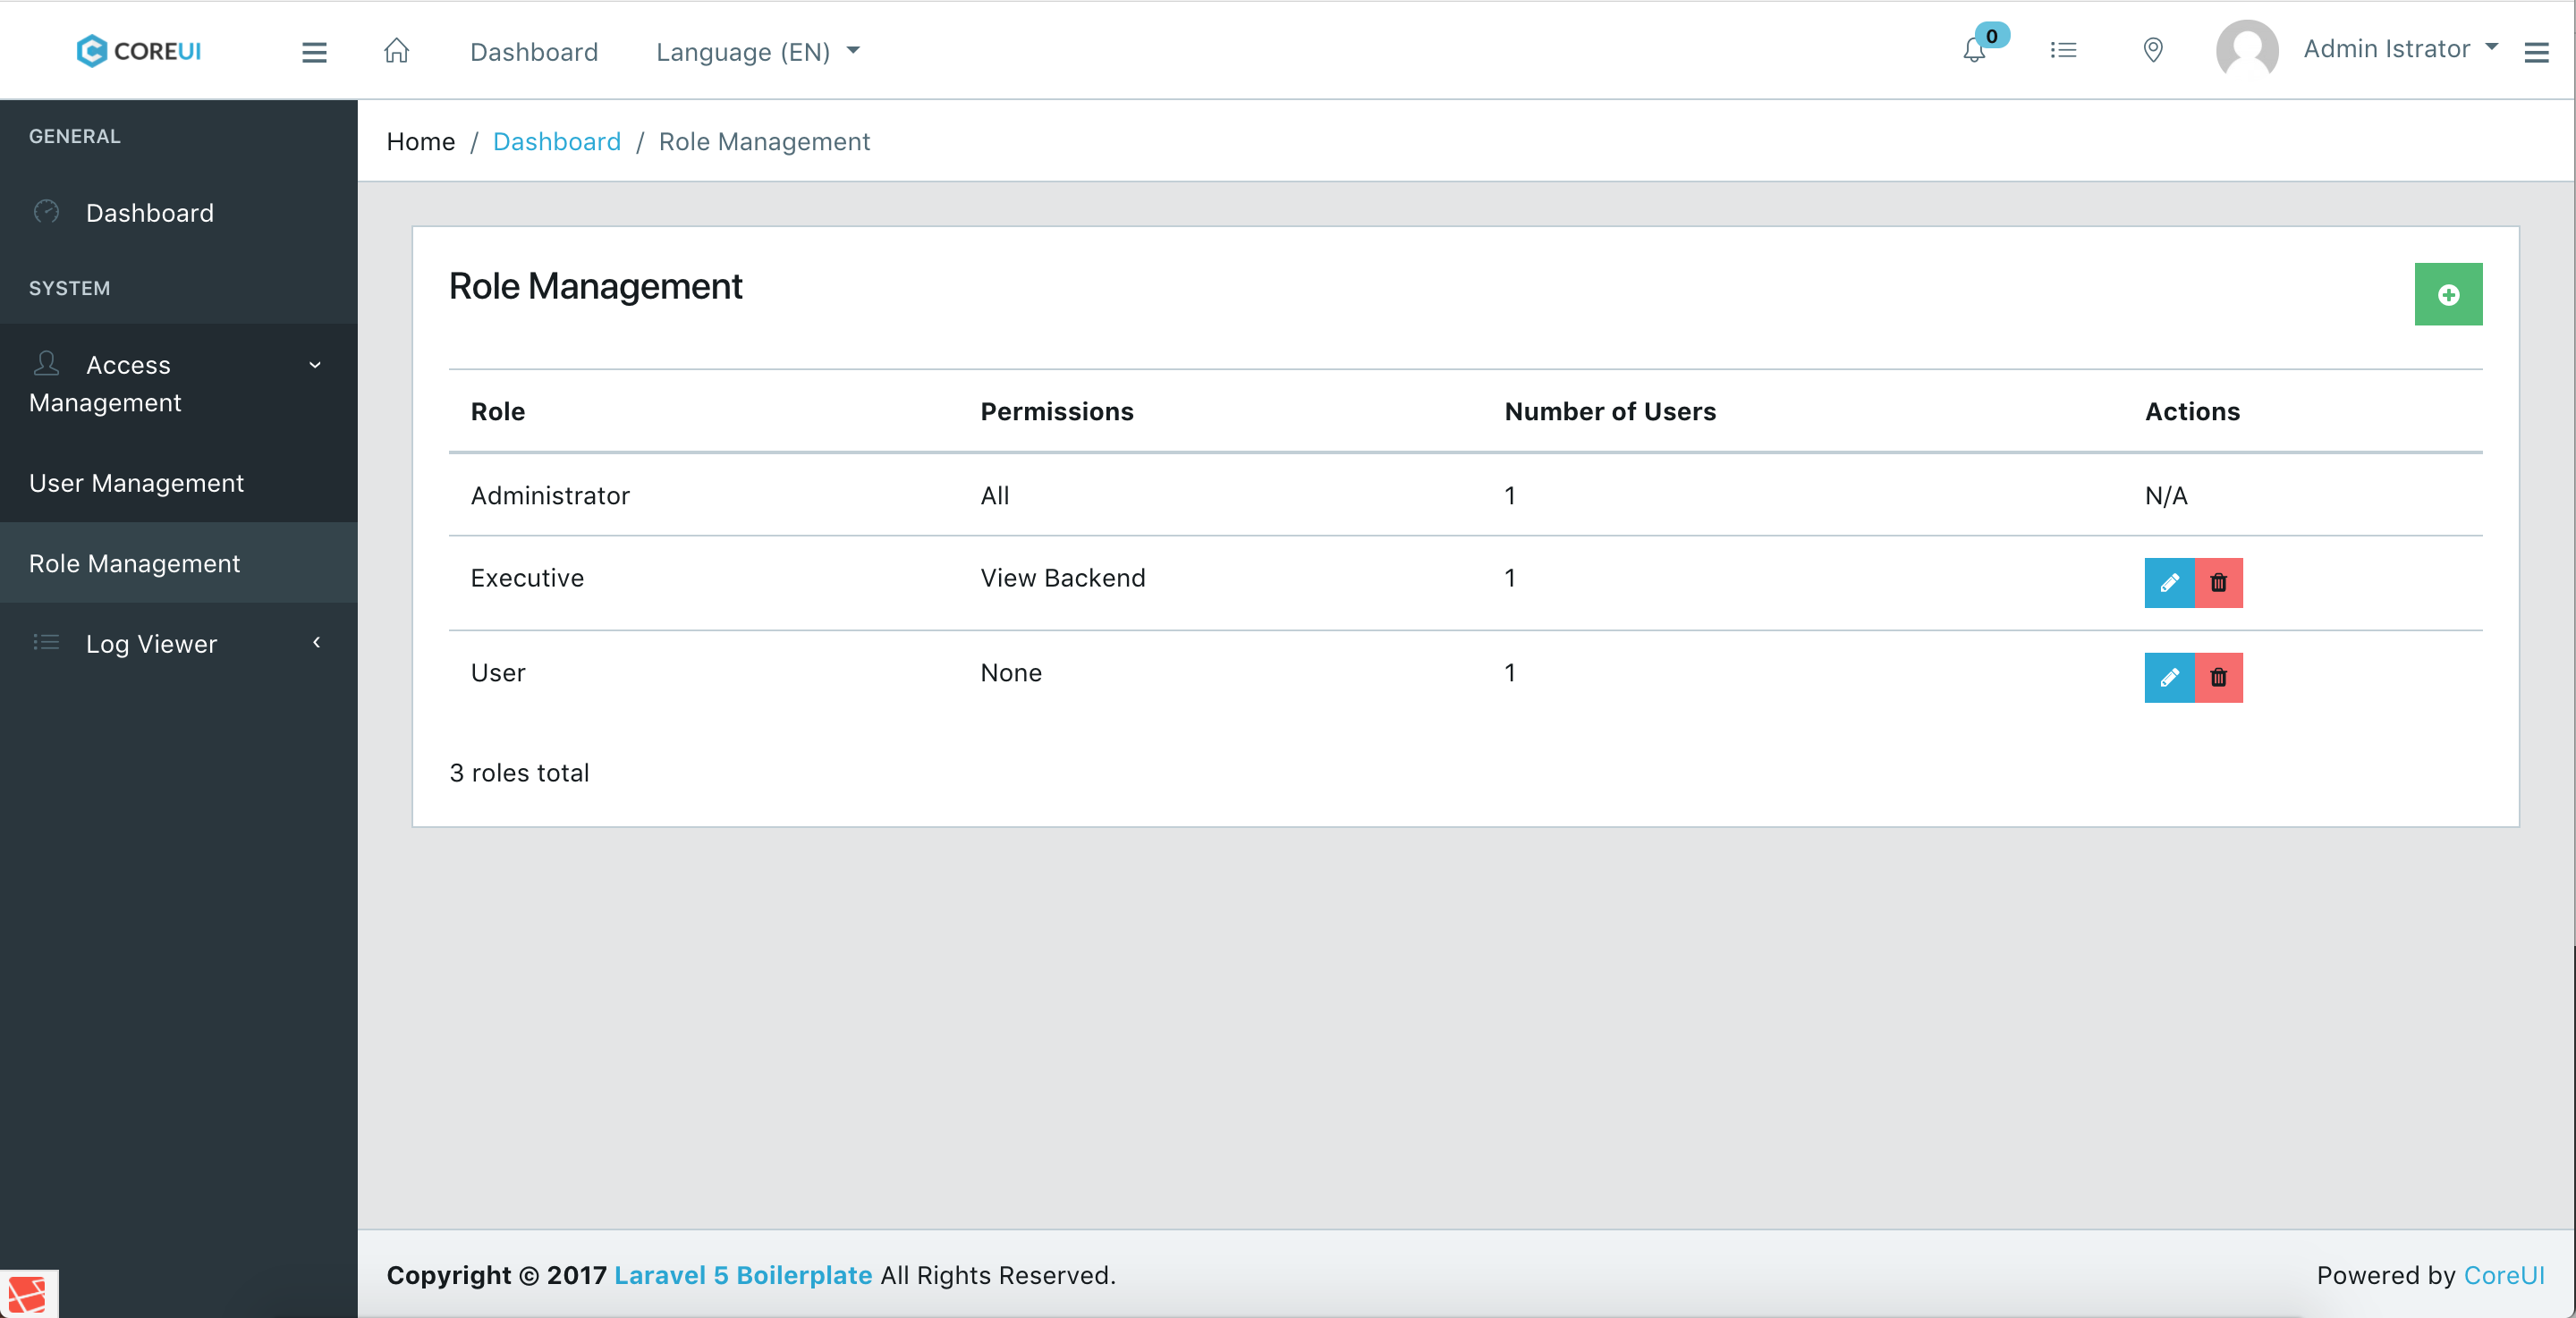
- Create/Manage Roles
- Manage Users Roles/Permissions
- Impersonate User
- Clear User Session
- Default Responsive Layout
- Frontend and Backend Controllers
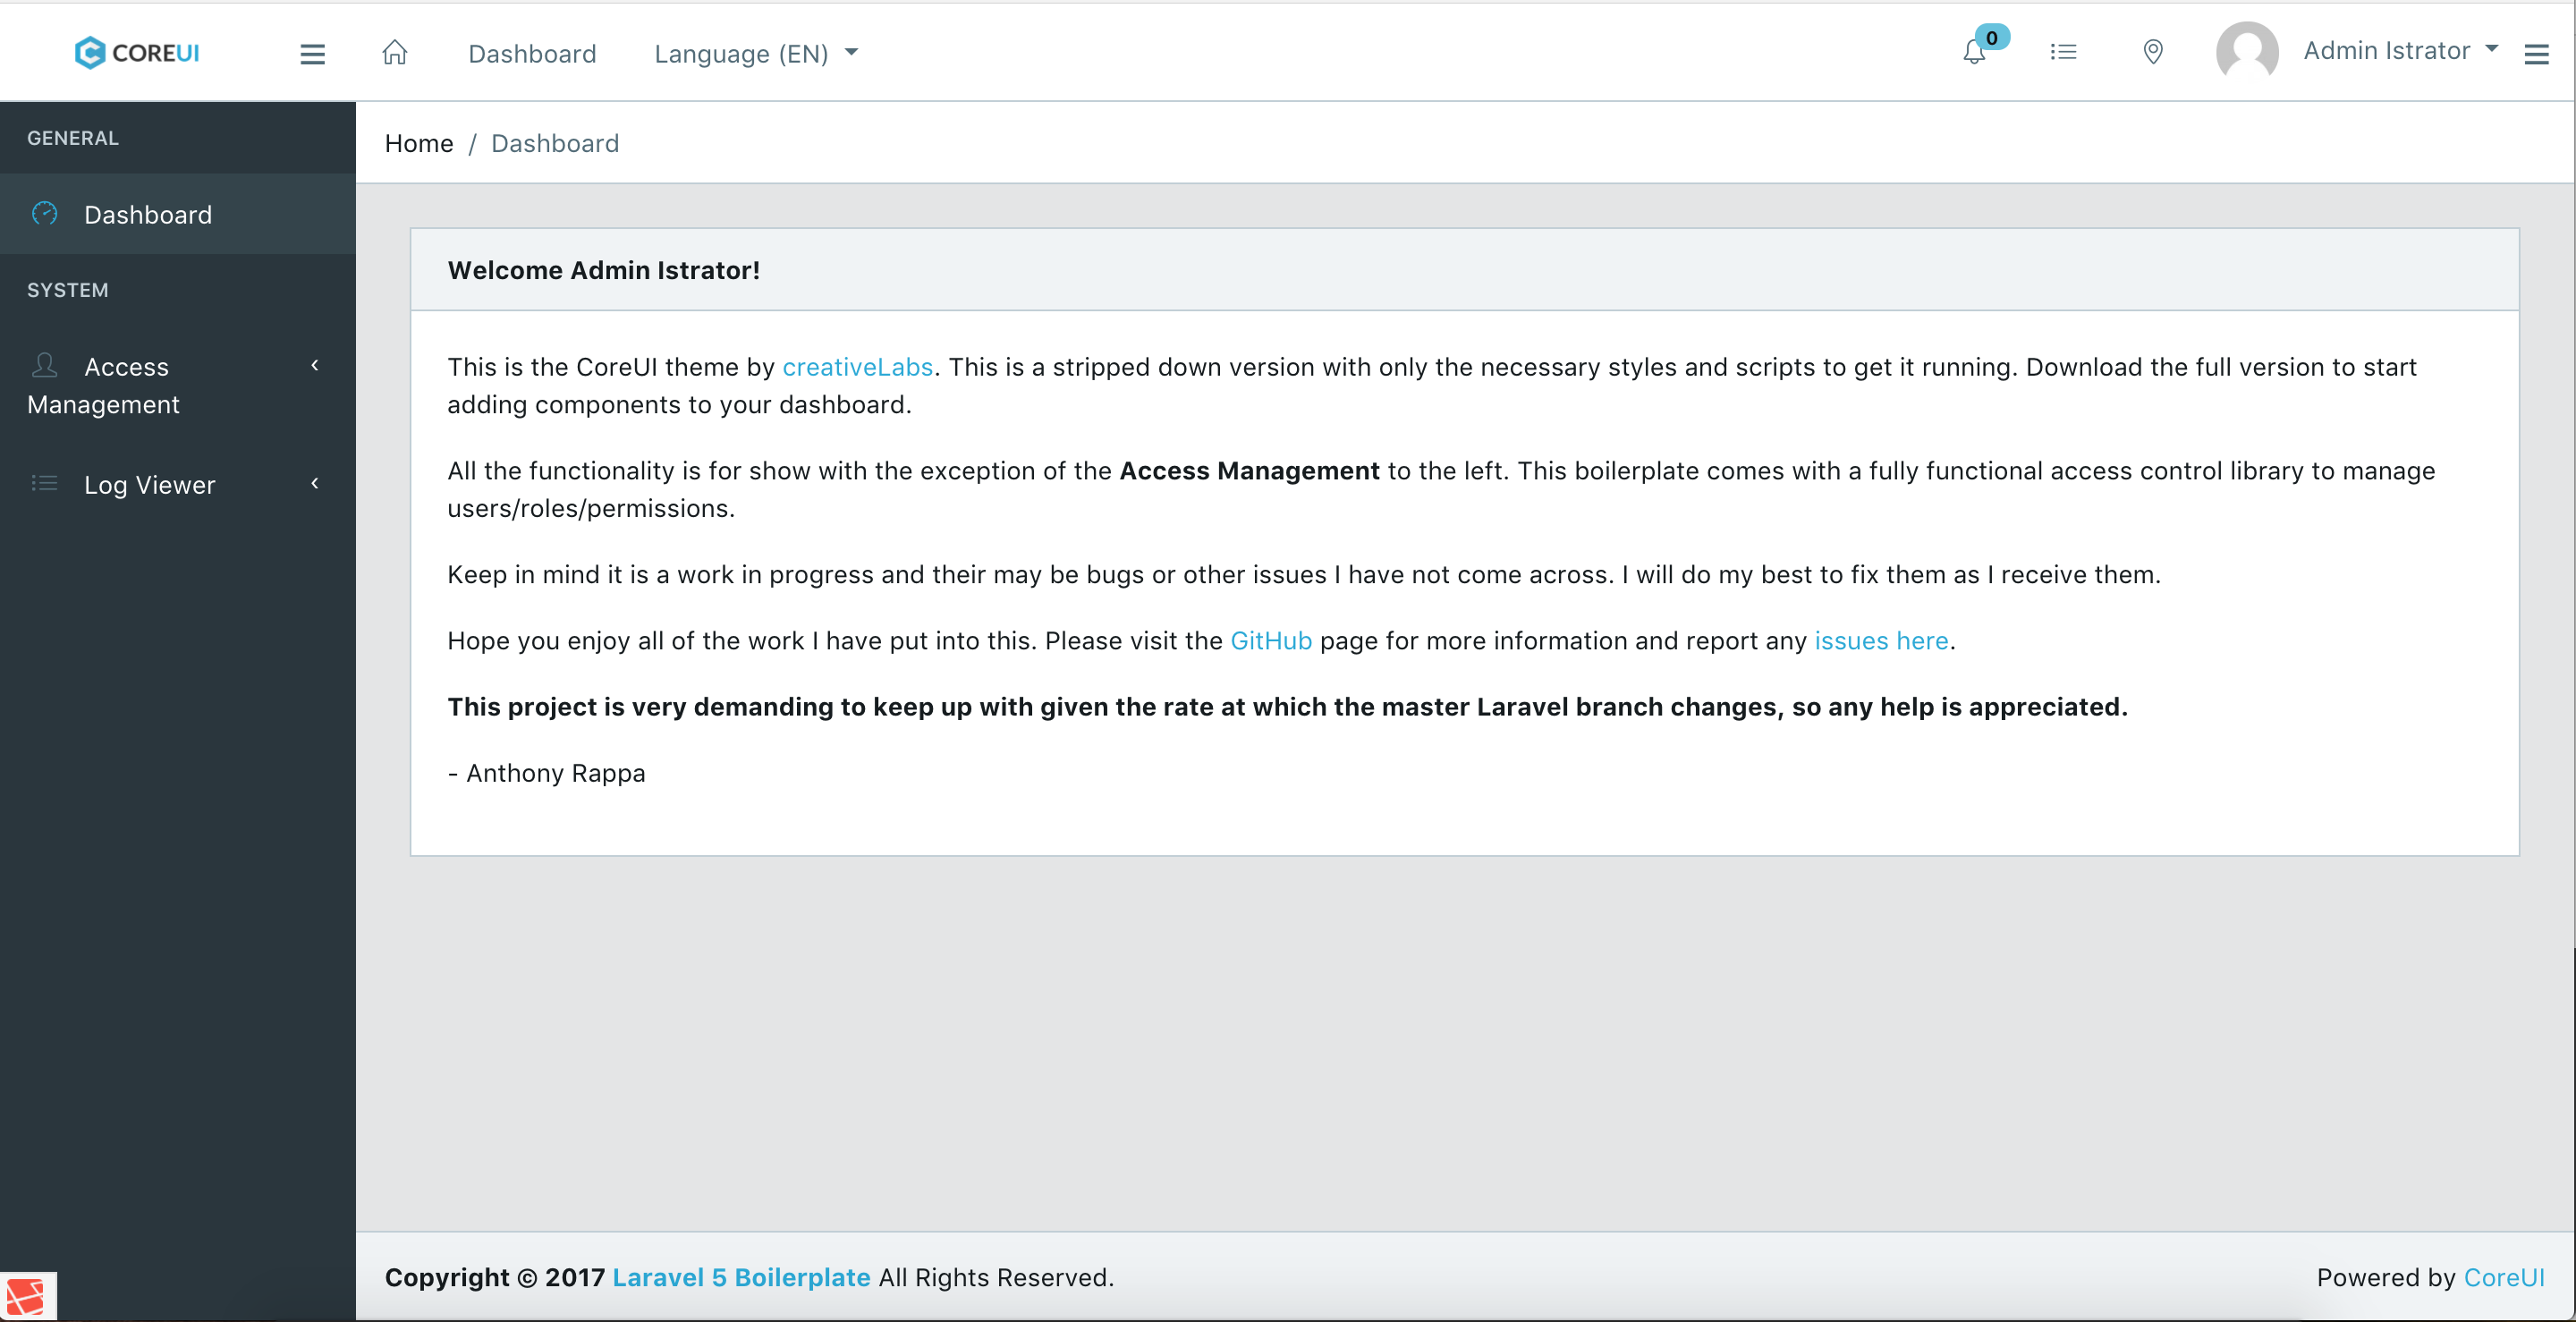
- User Dashboard
- Administration Dashboard with CoreUI
- Namespaced Routes
- Default Forms Converted to Form Helper Methods
- Master Layout Files with common sections
- Versioned CSS/JS Files
- Helper functions
- Javascript/jQuery Snippets
- Bootstrap 4
- Font Awesome 5
- Global Messages/Exception Handling
- Socialite Integration
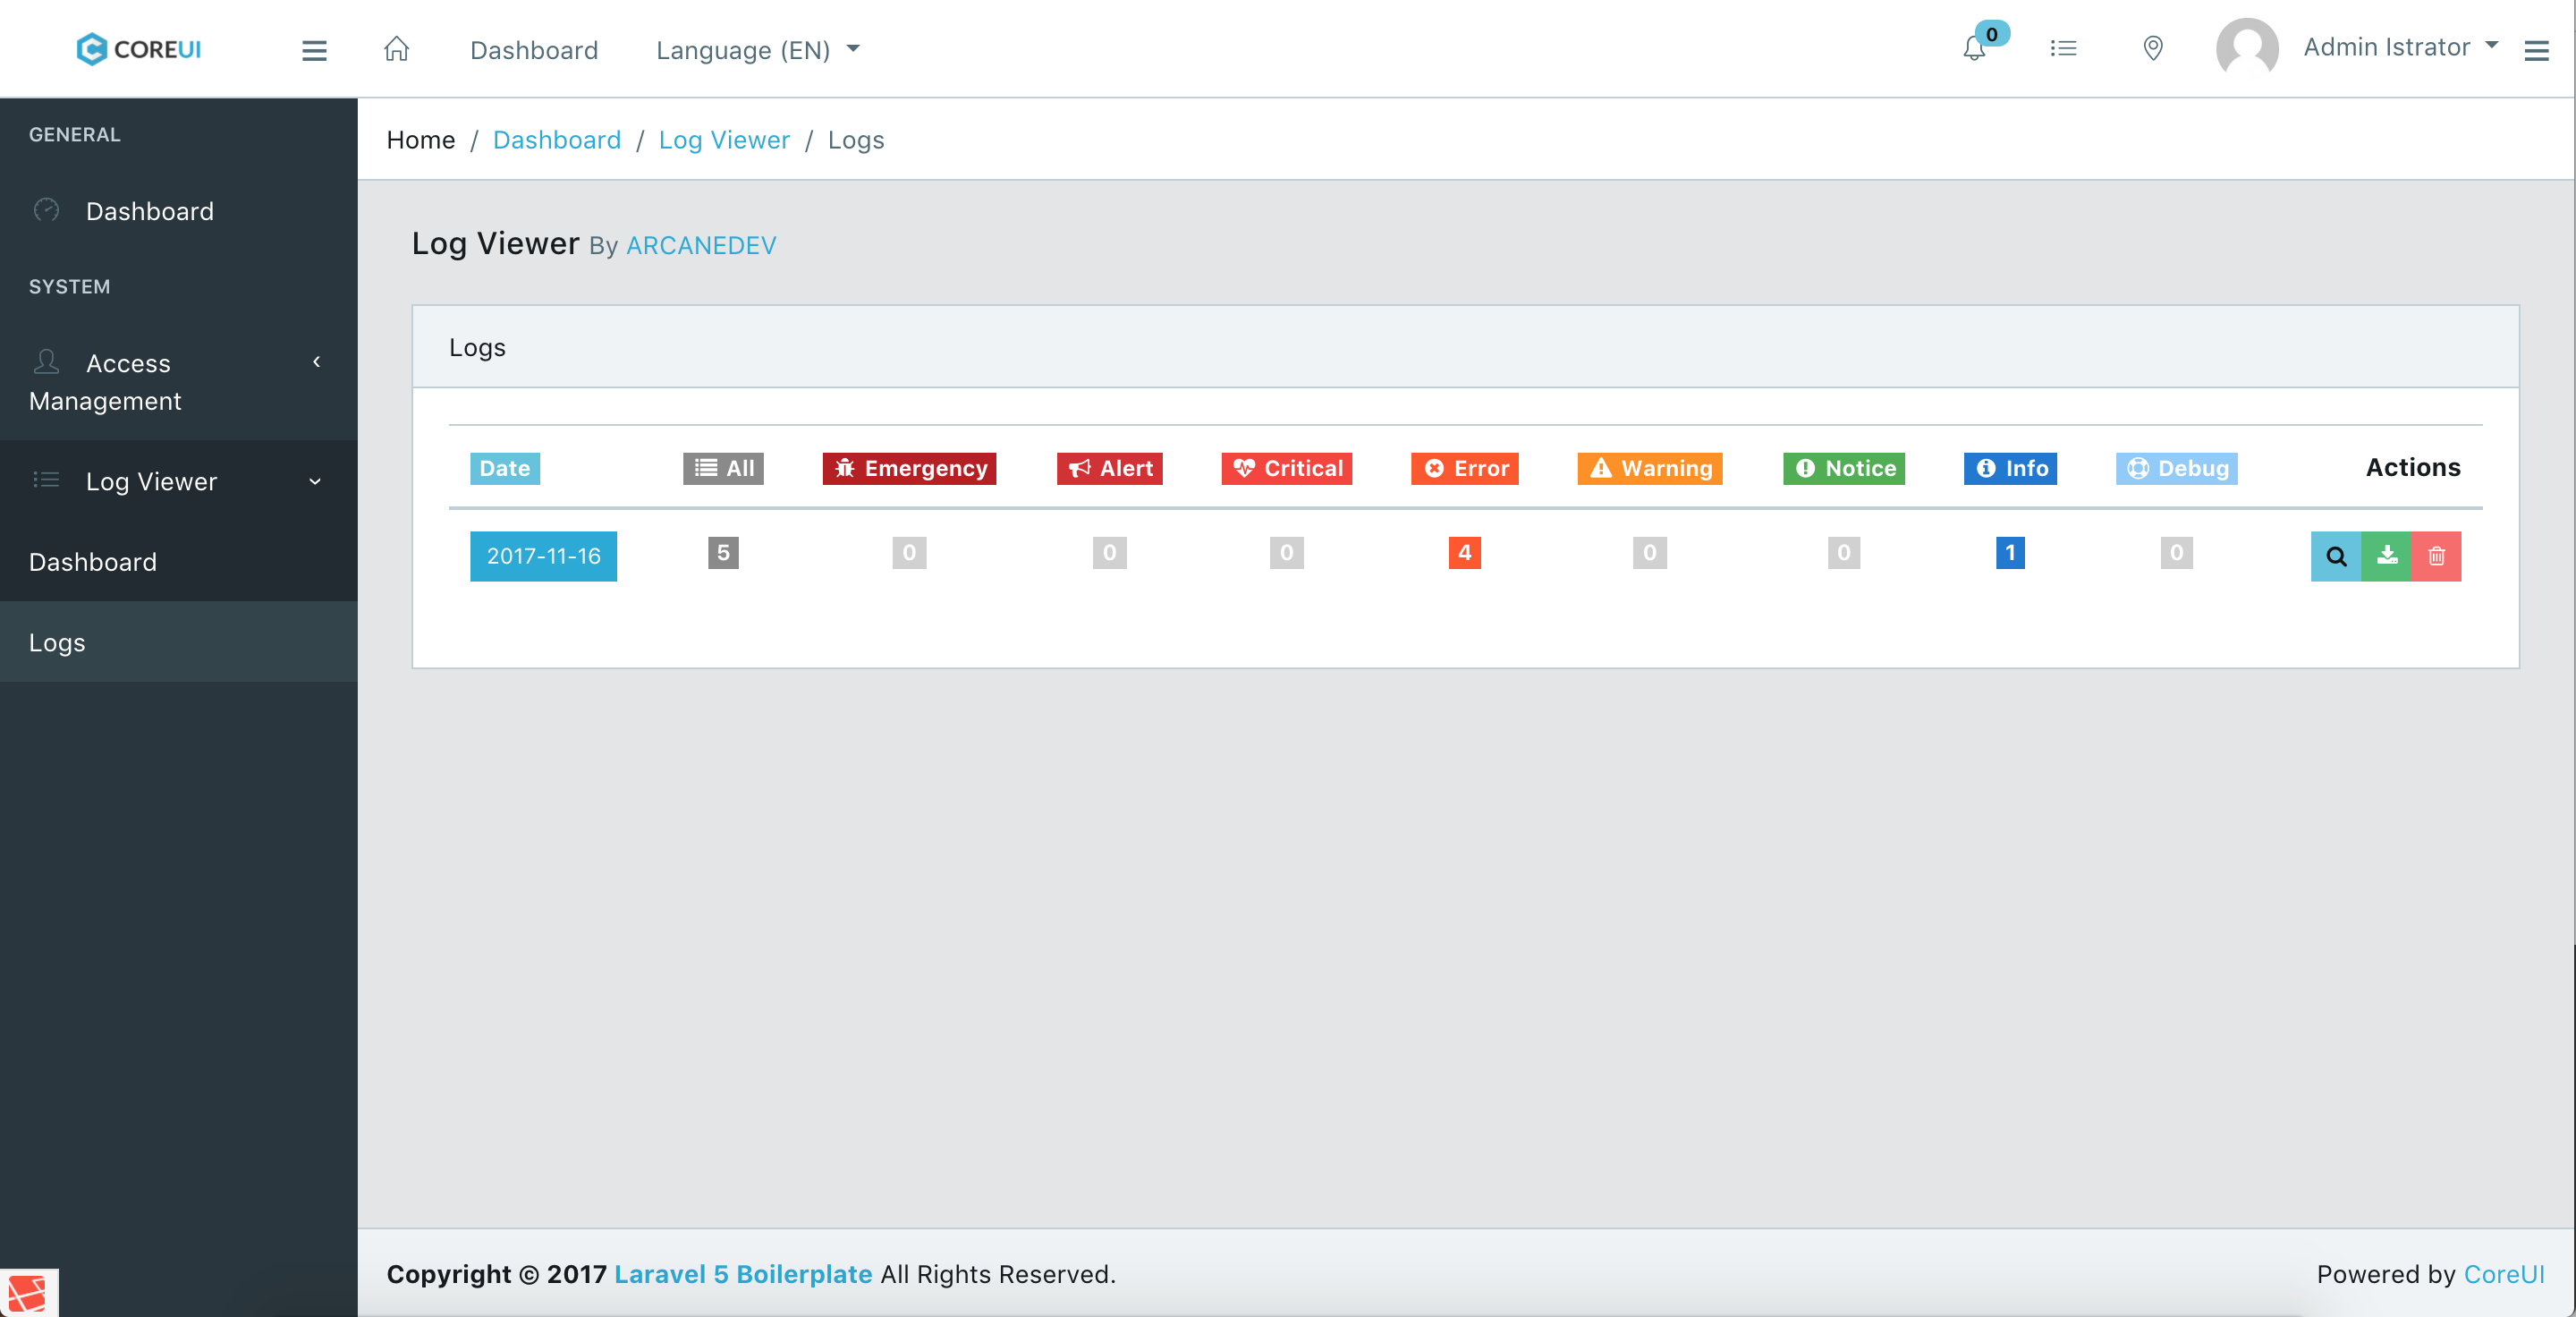
- ARCANEDEV Log Viewer
- Dynamic Breadcrumbs
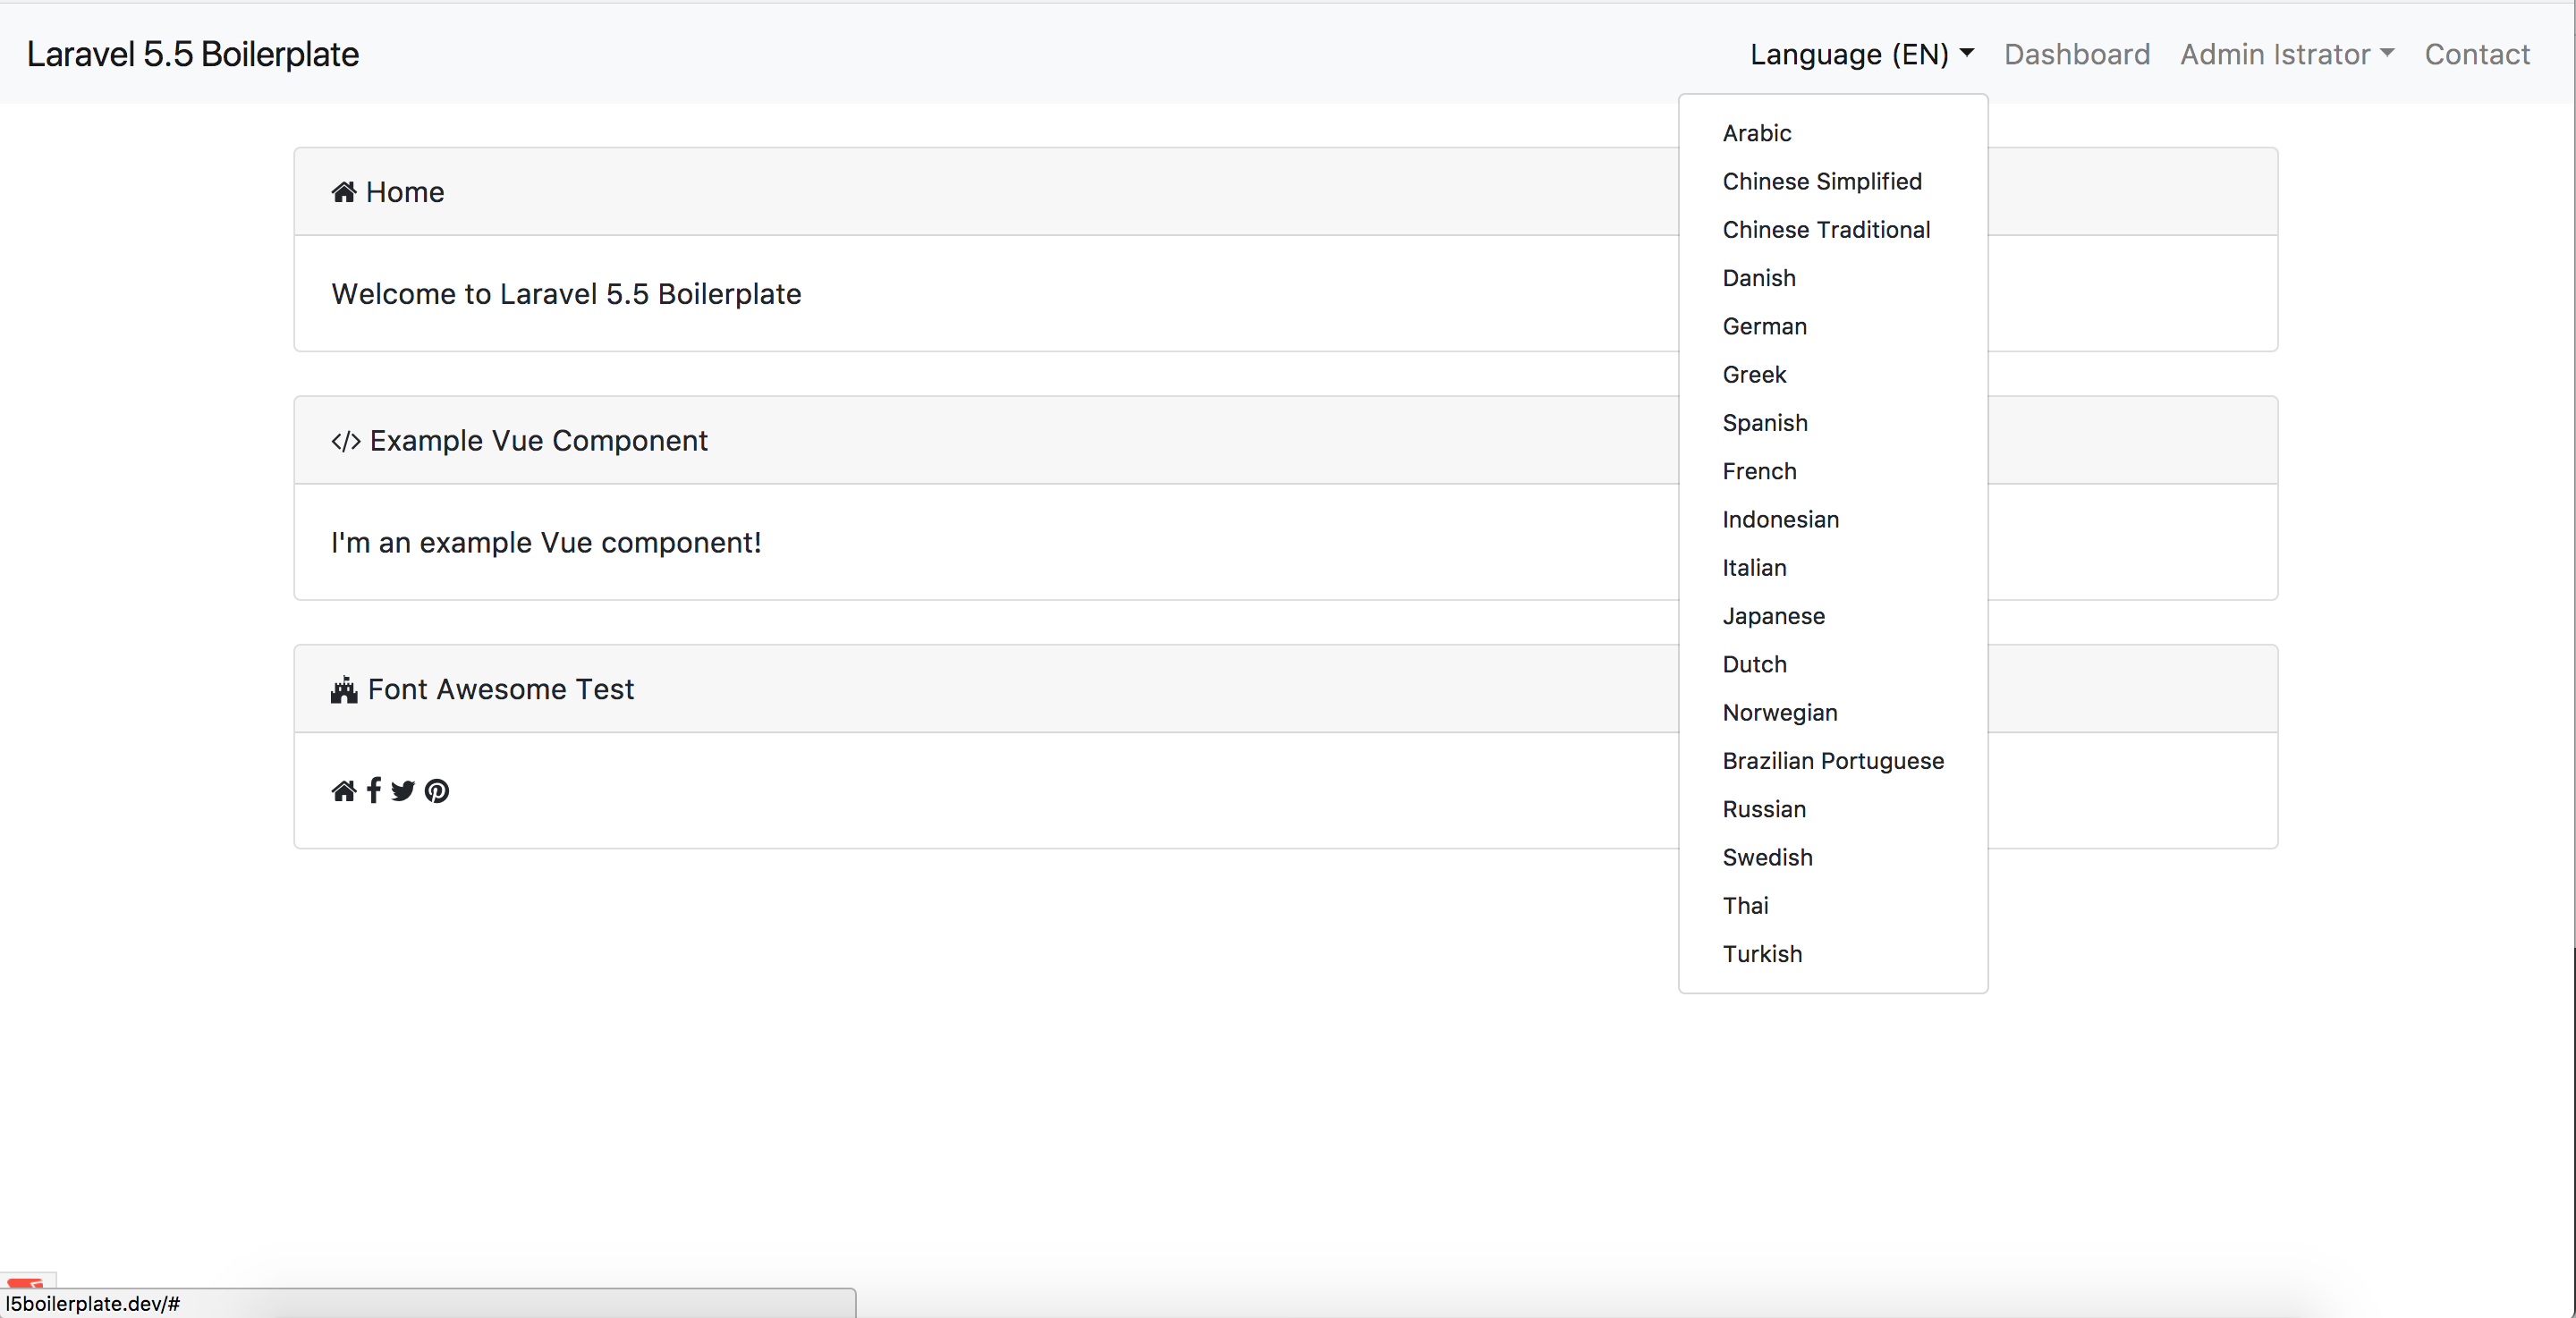
- Localization with RTL support in 20+ languages so far.
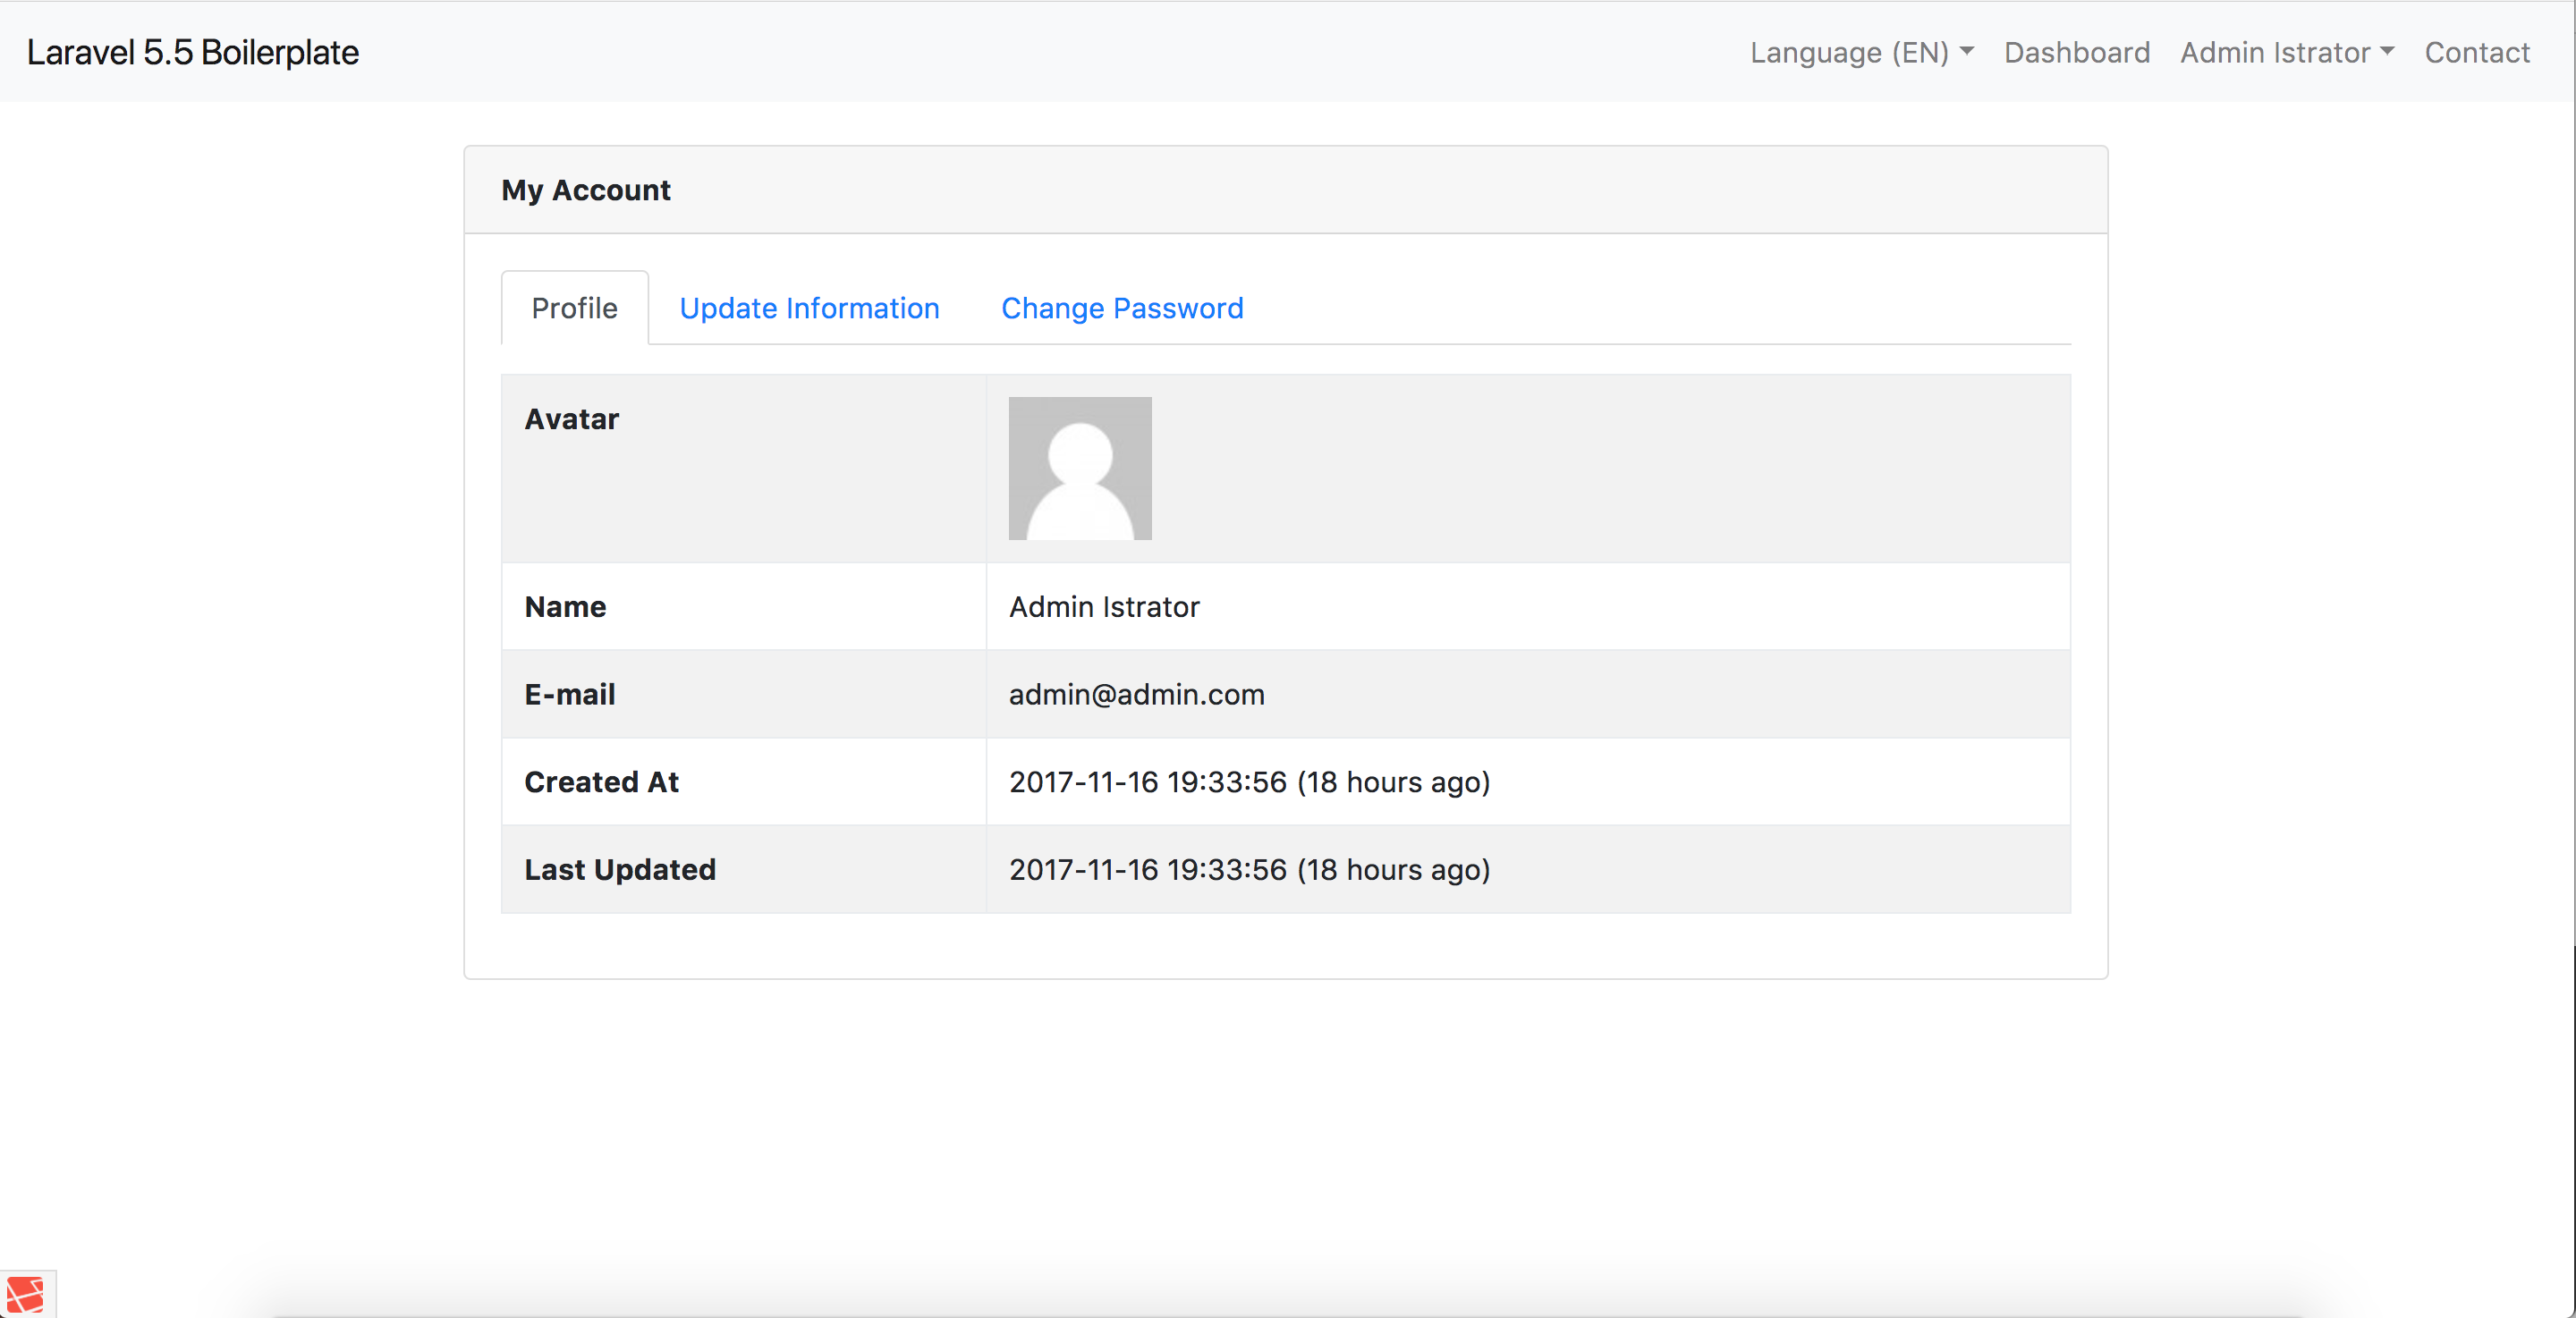
- Gravatar
- Laravel Debugbar
- Event subscribers
- Google reCaptcha
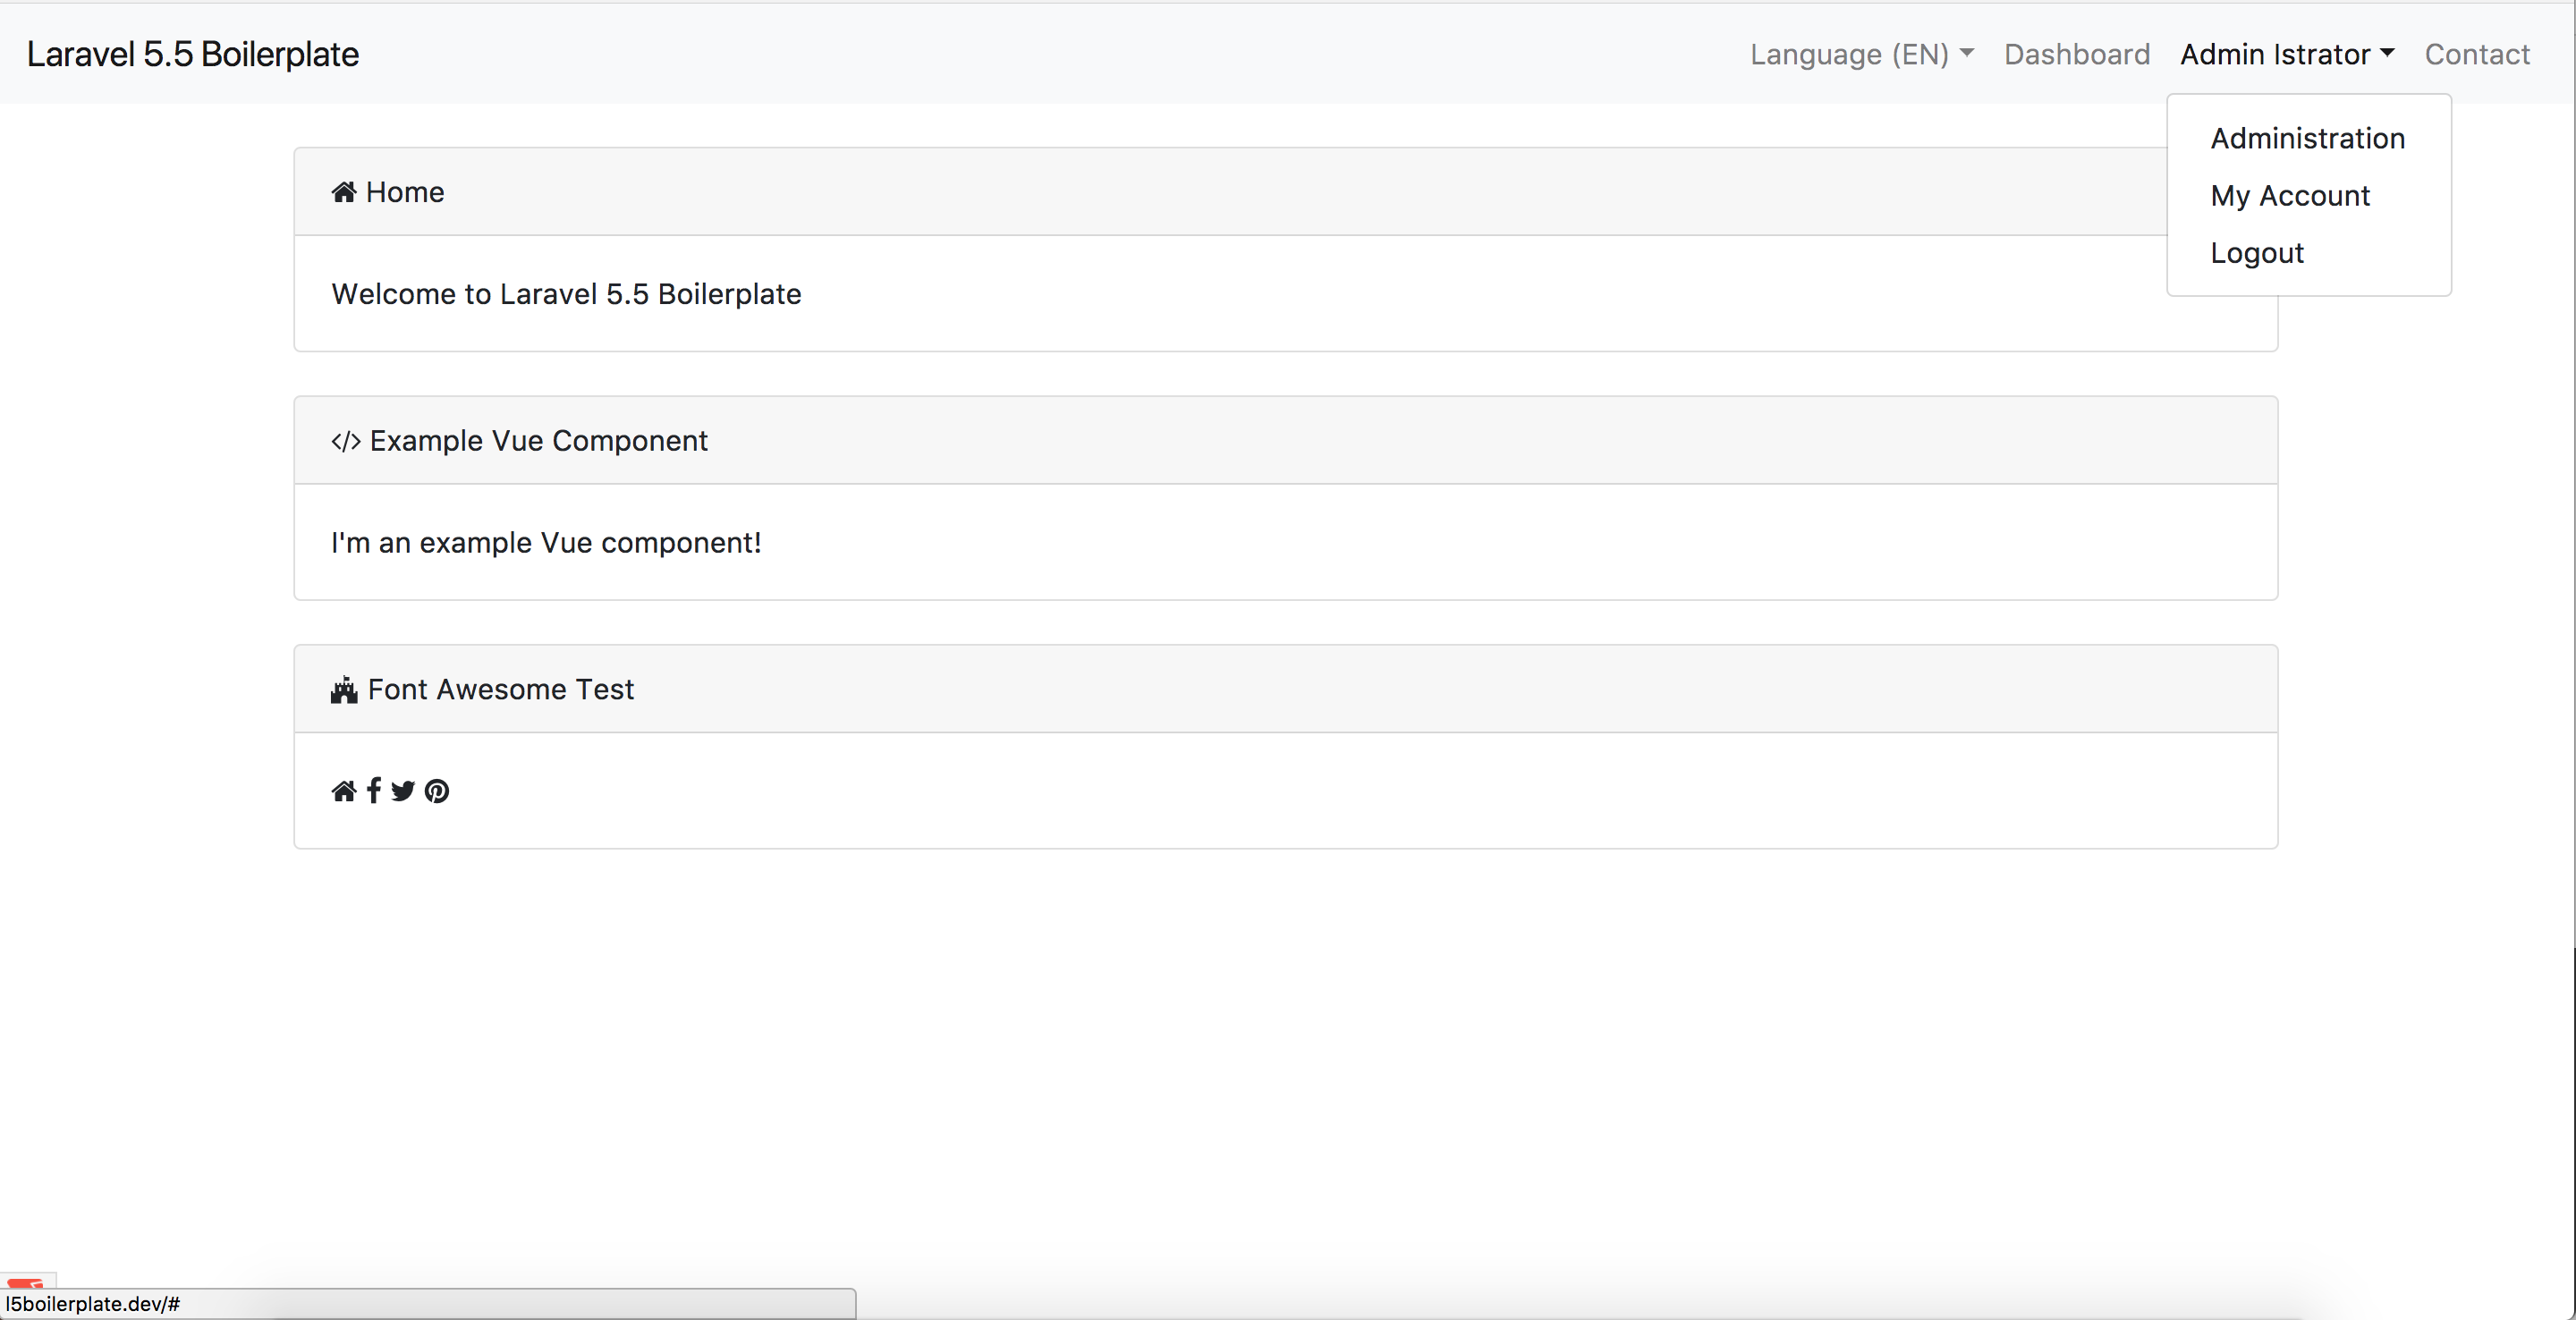
- Vue
- Read Only Mode (For Demos)
- Timezone Support
-
Standards
- PSR-2
- Clean Controllers
- Repository/Contract Implementations
- Request Classes
- Events/Handlers
- Entire application split between frontend/backend
- Localization Throughout
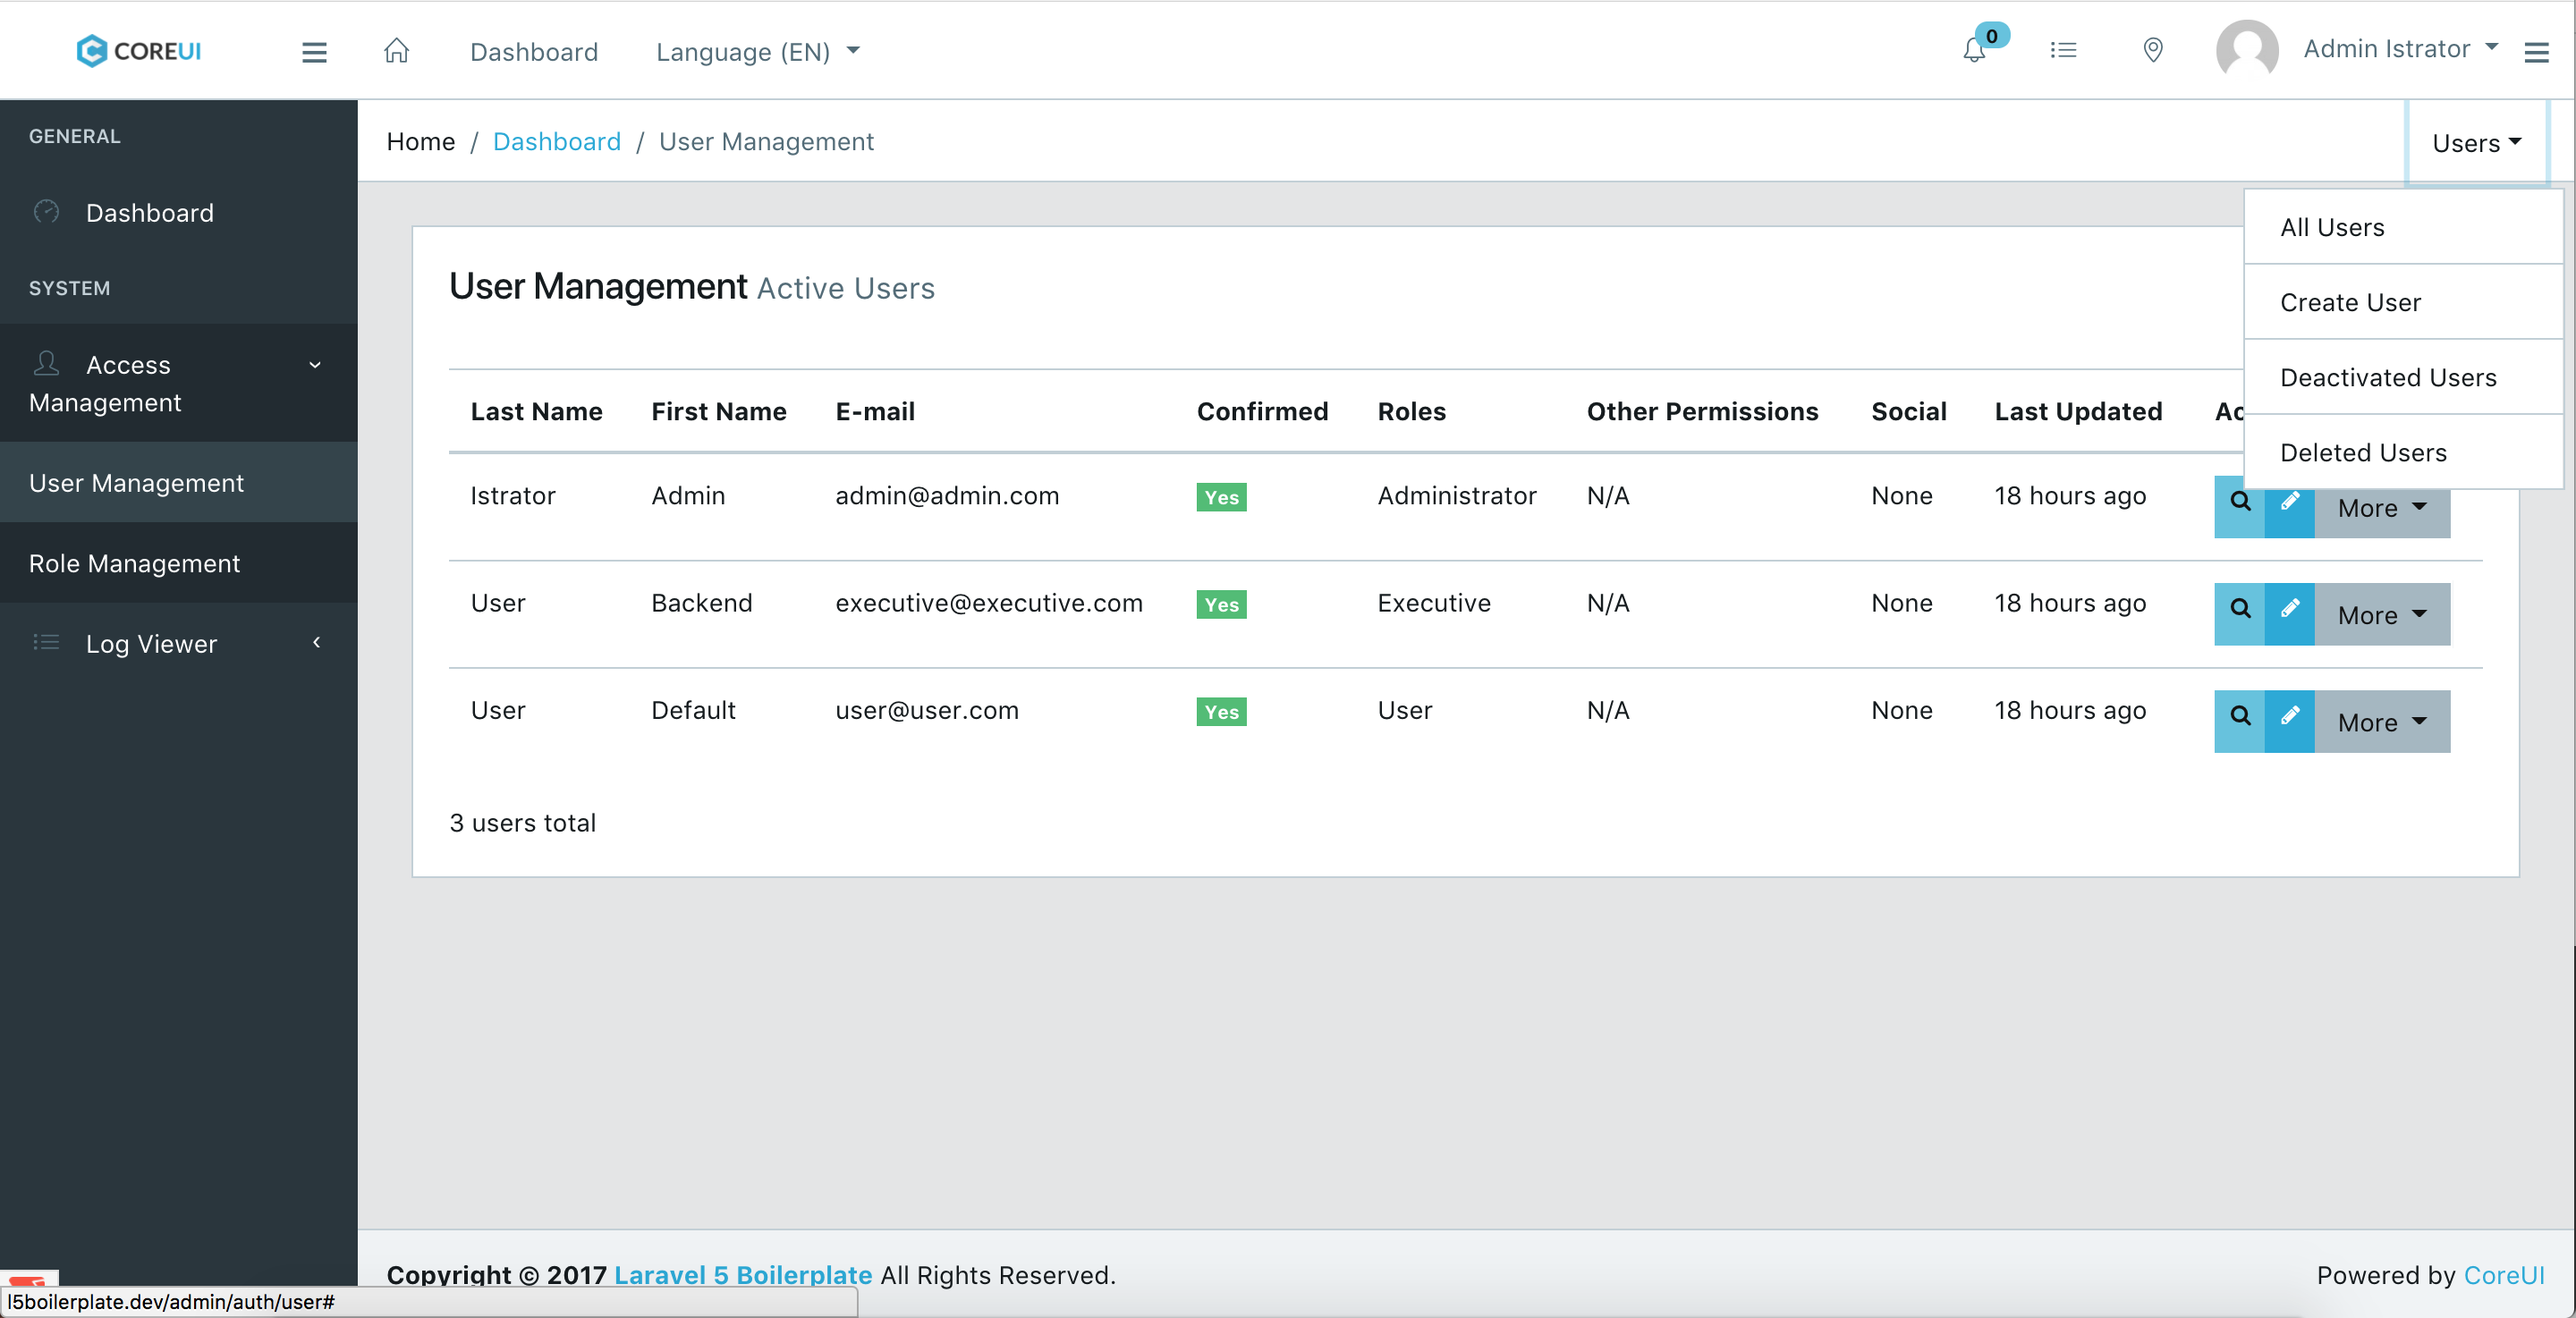
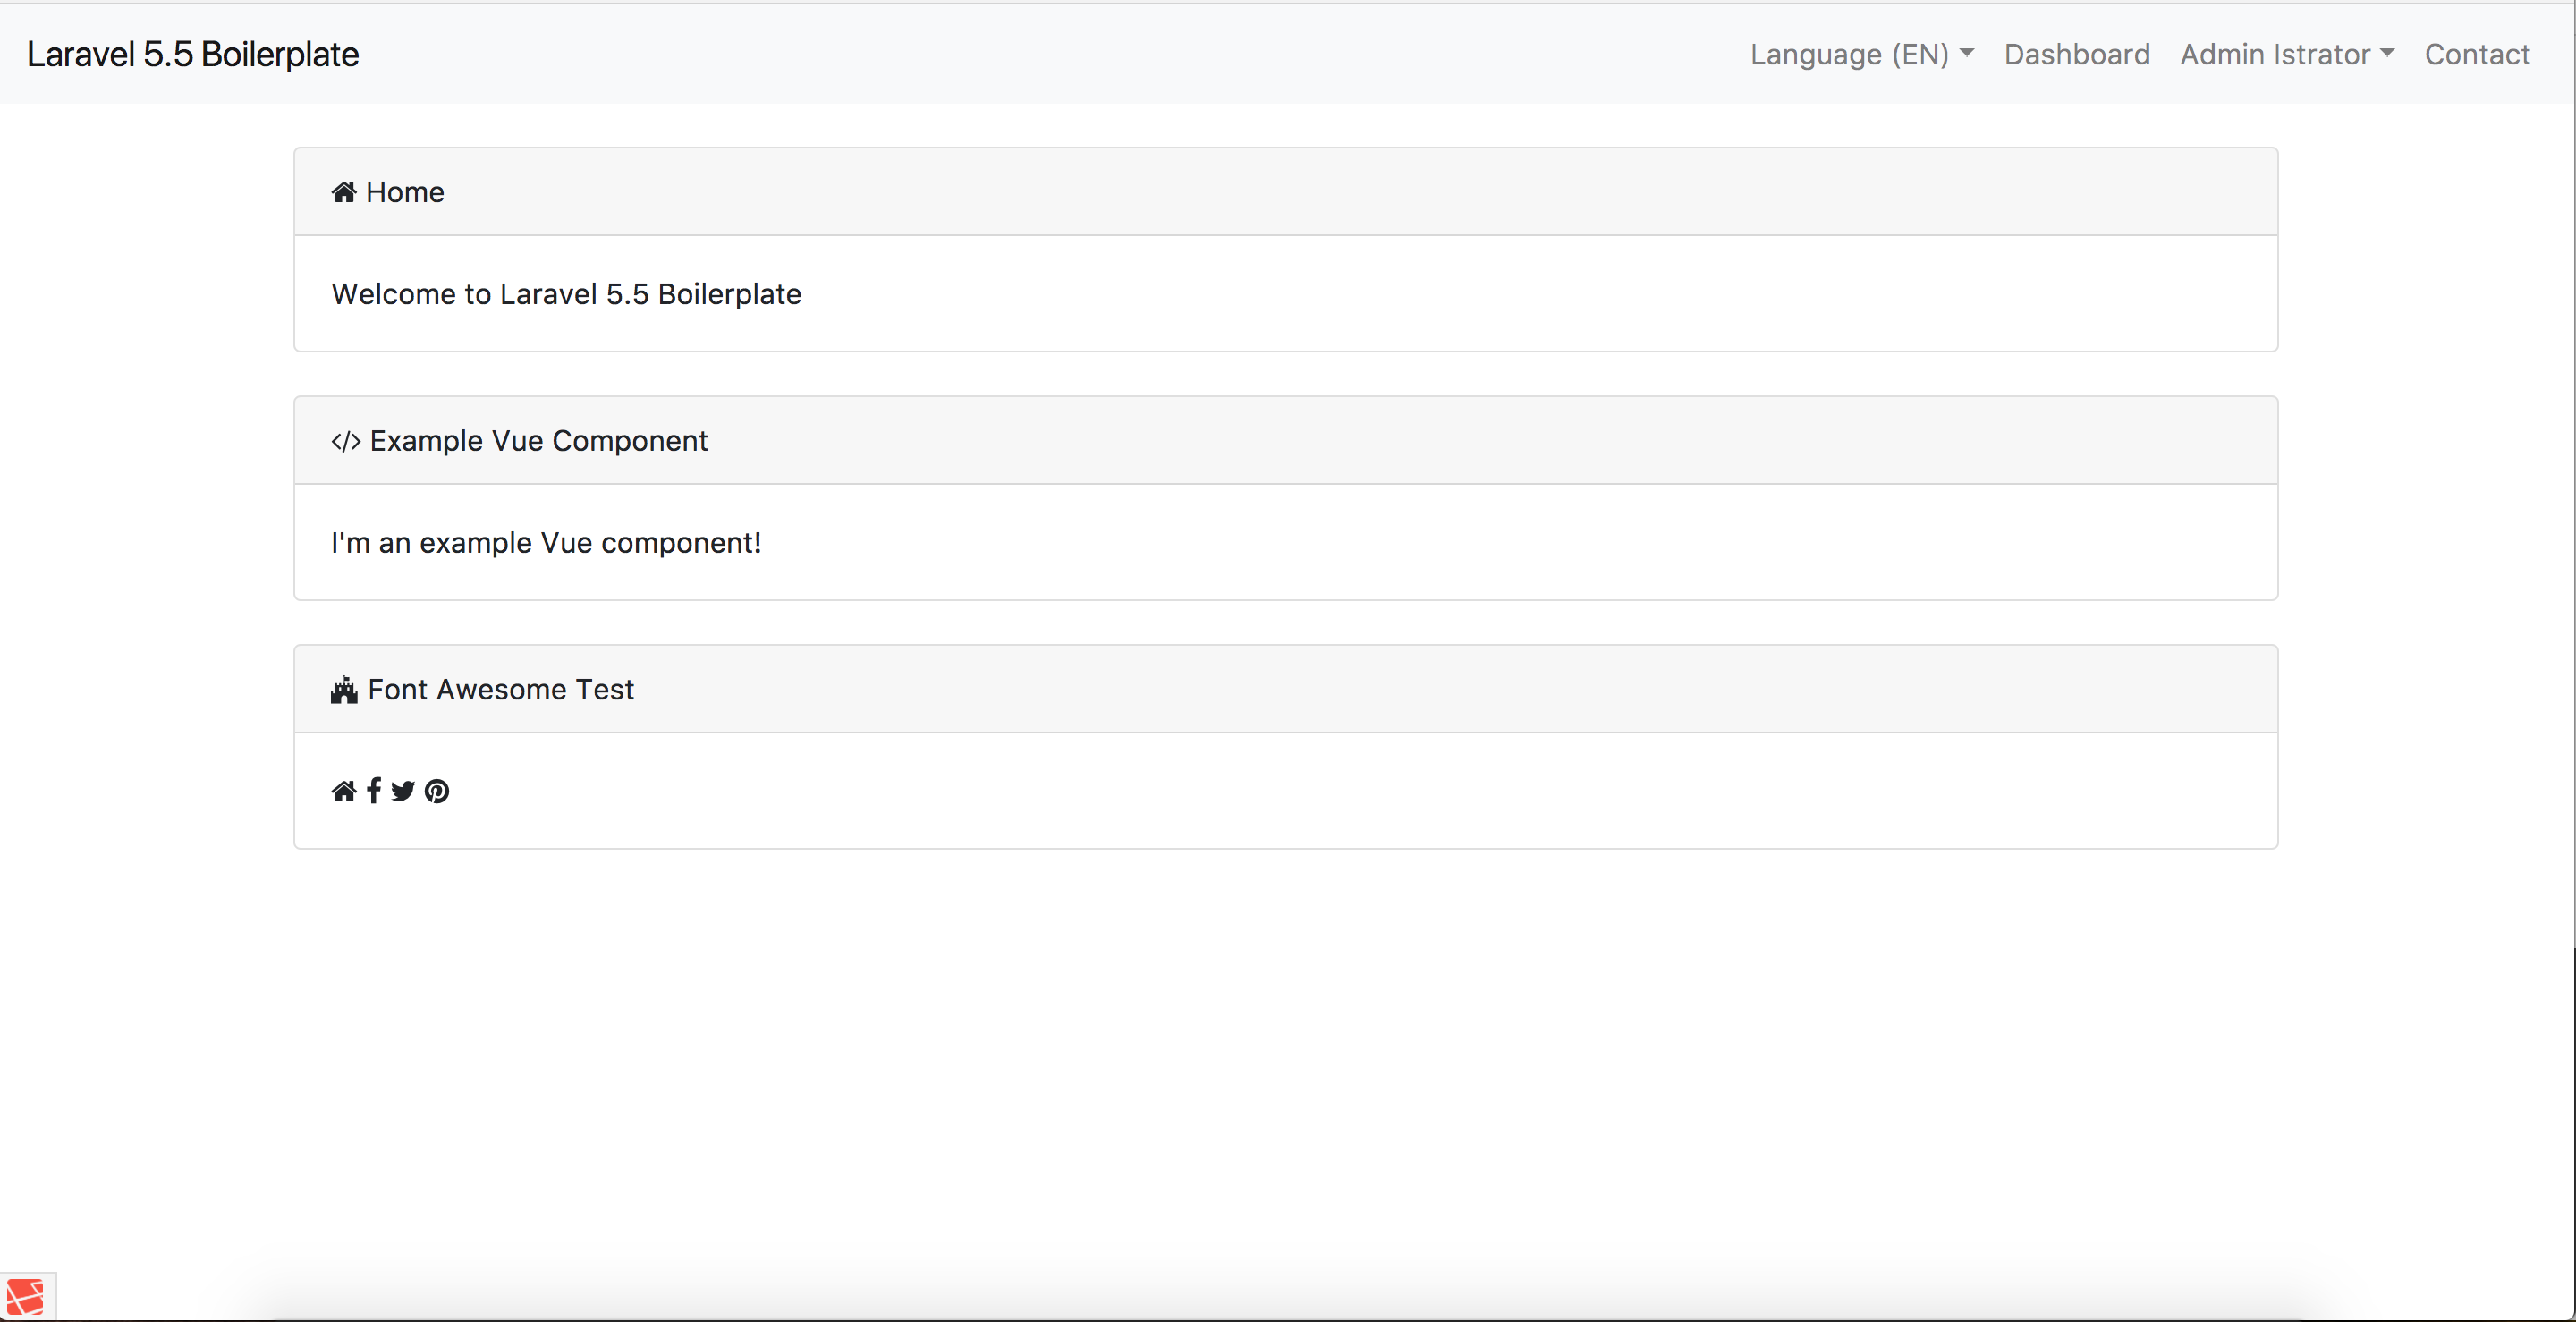
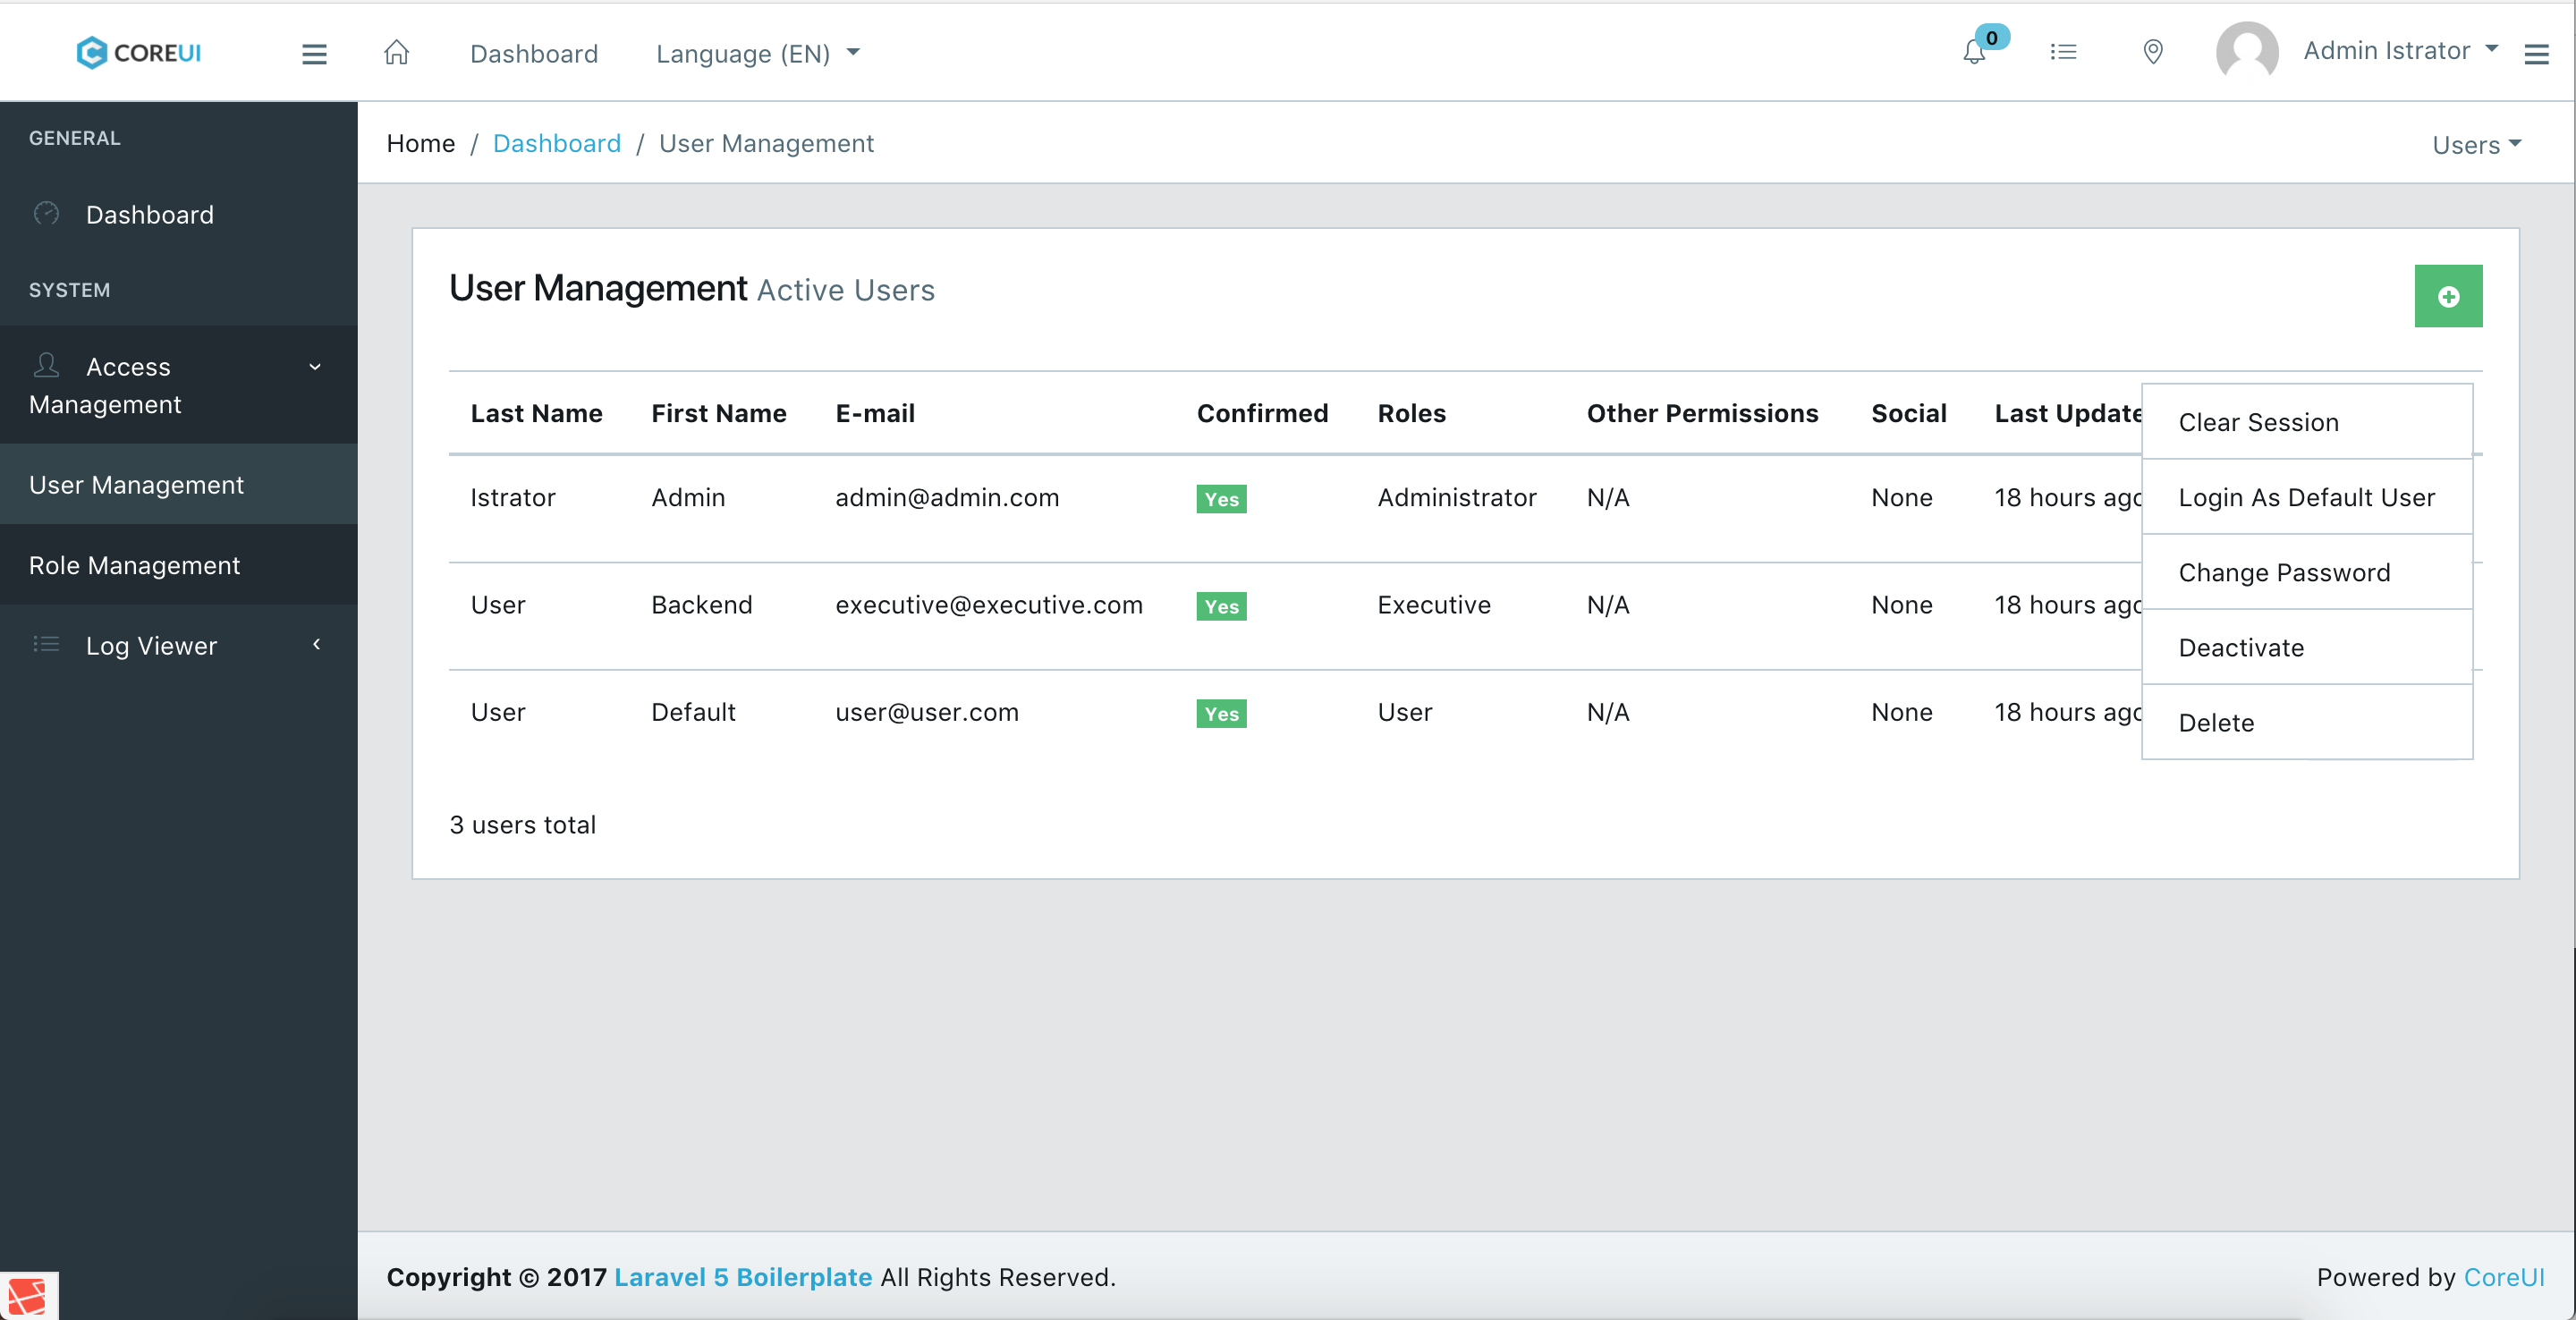
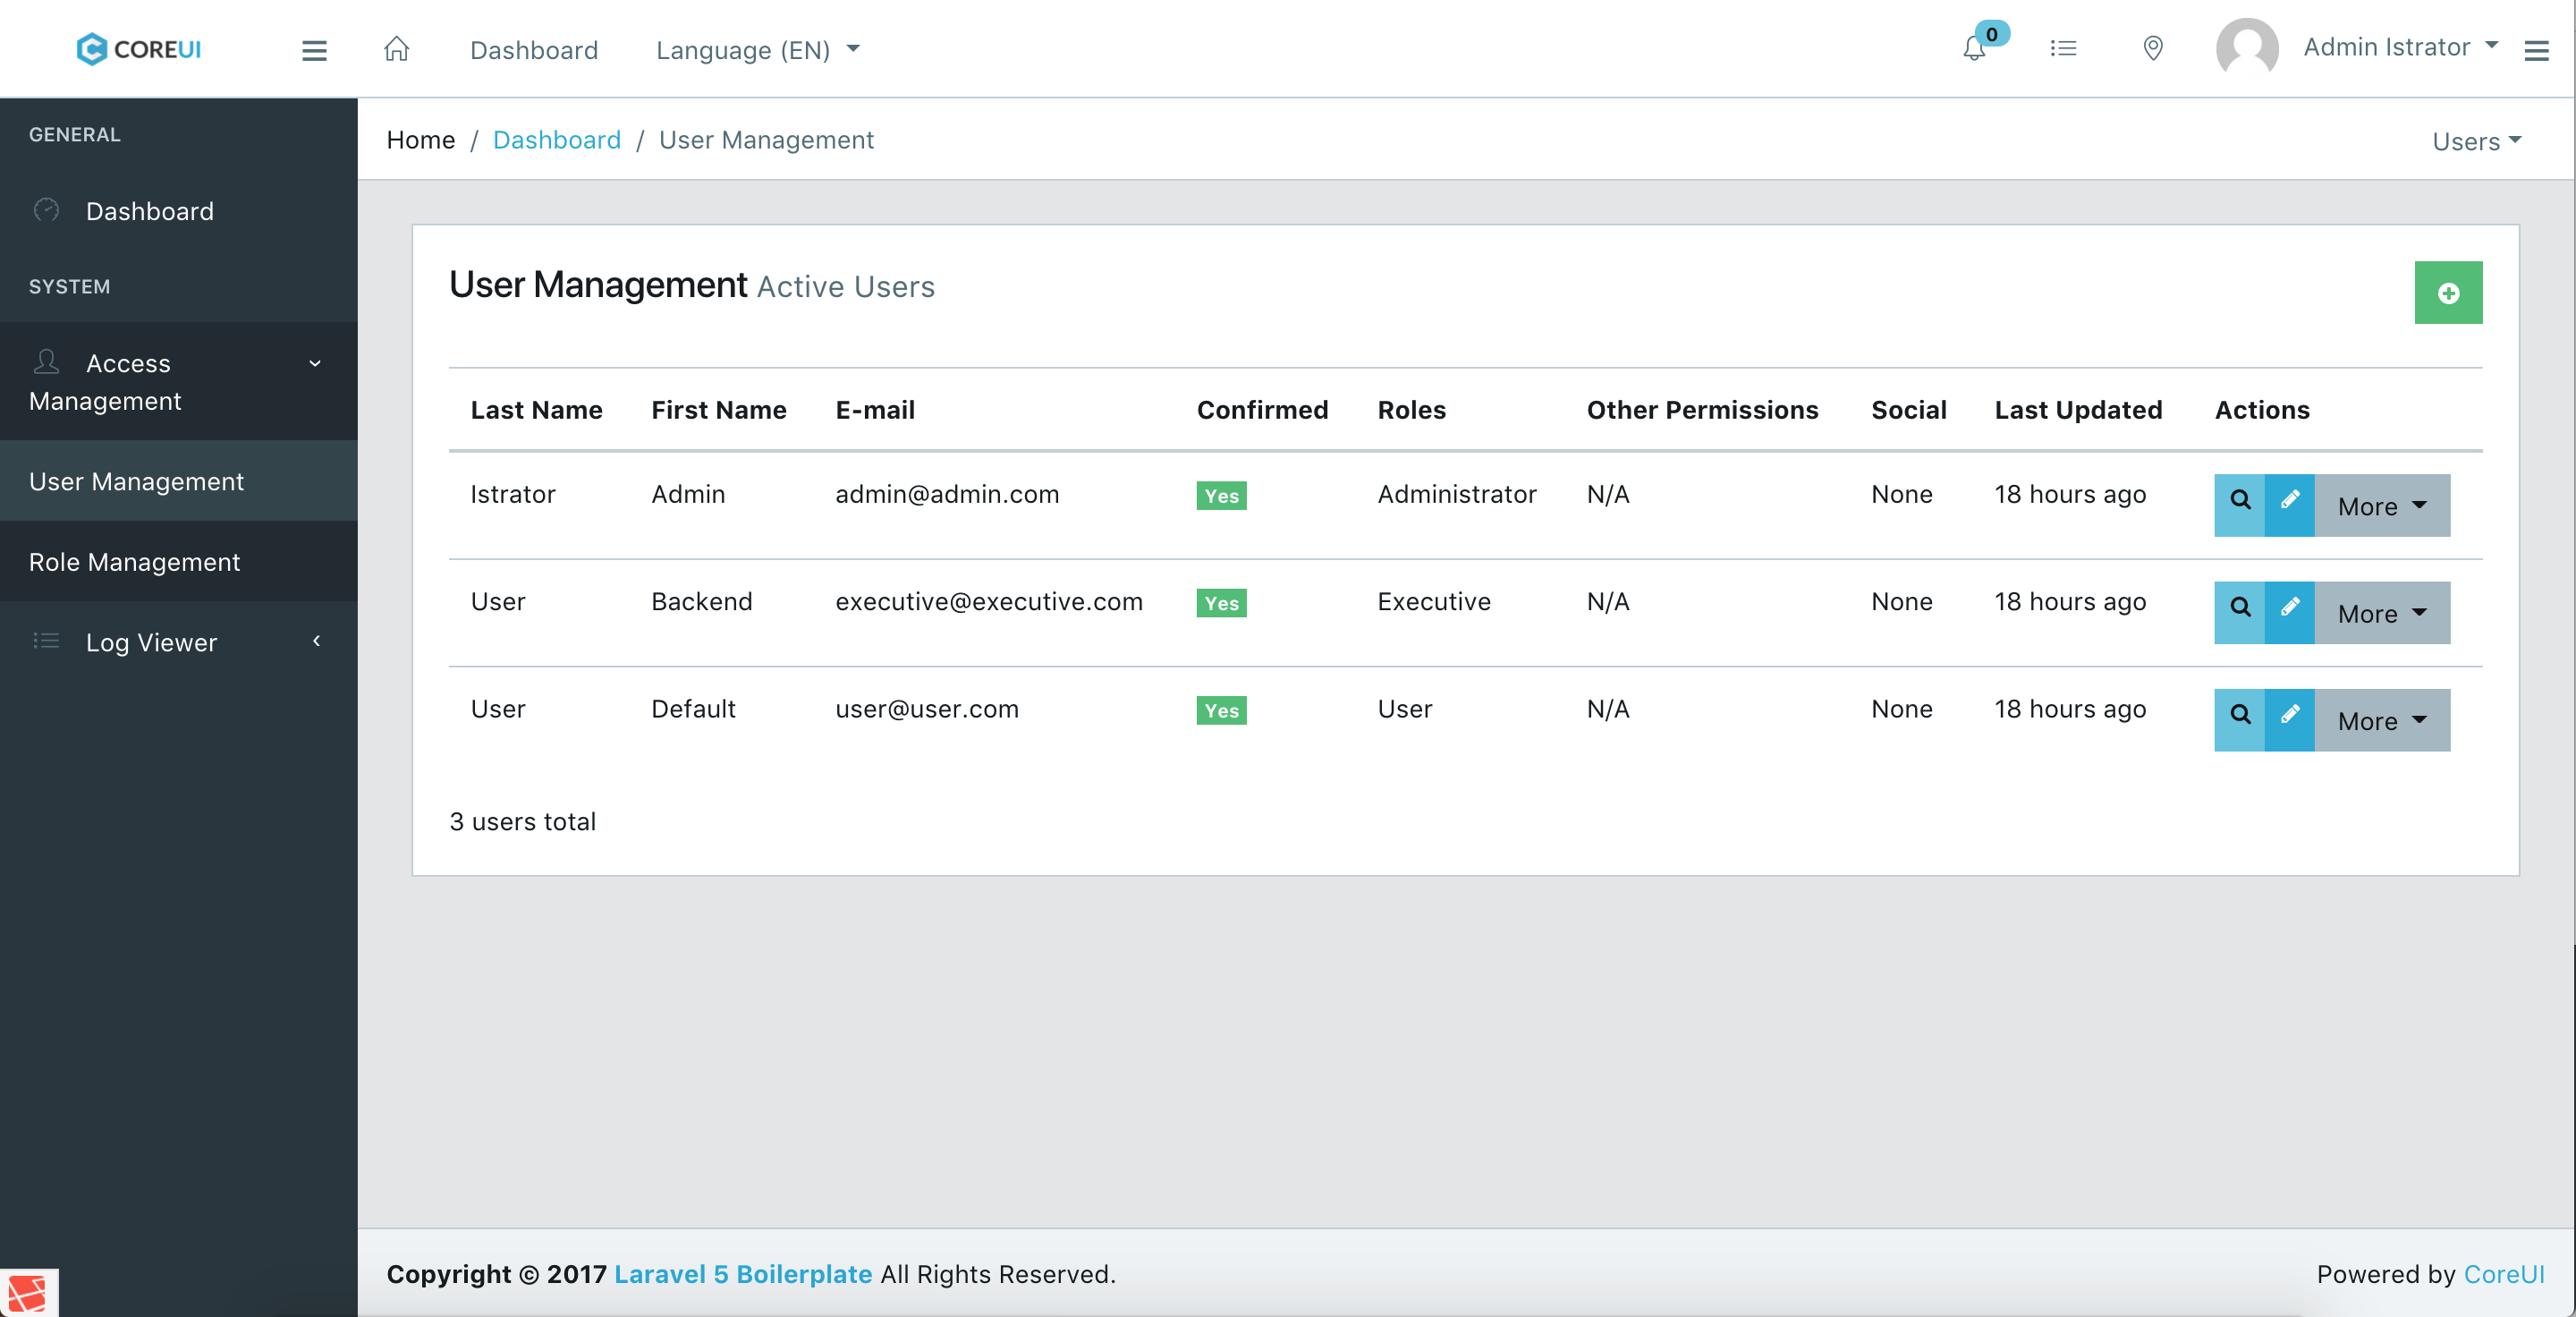
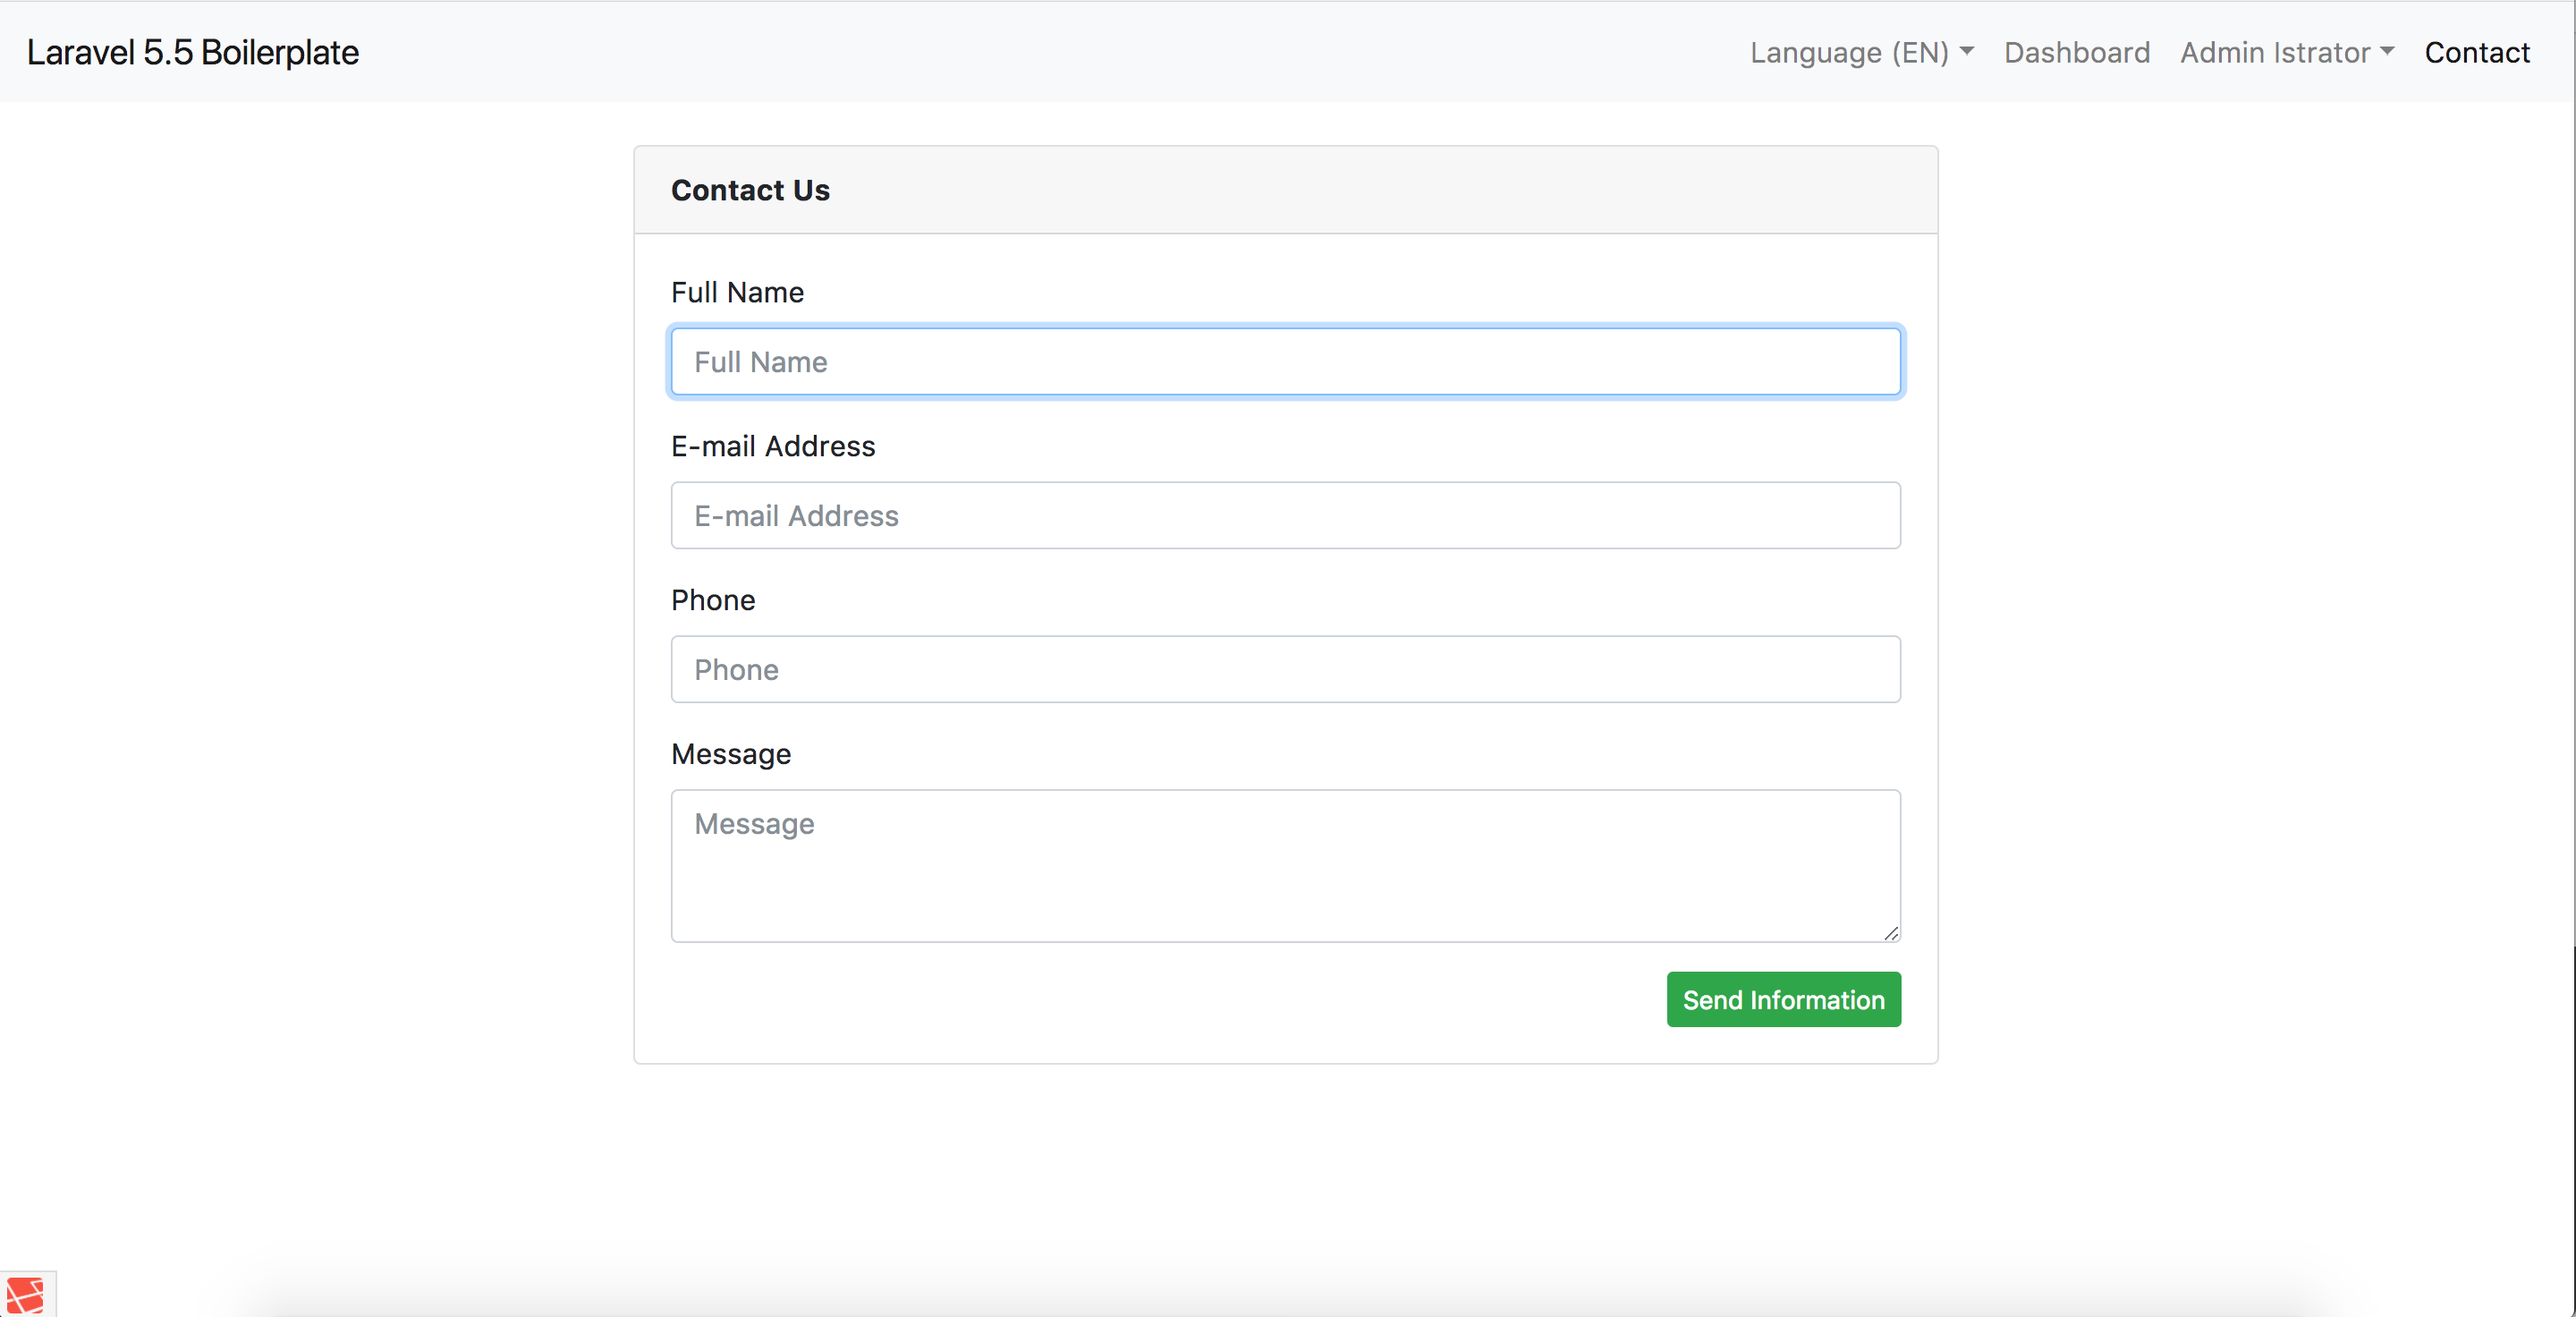
Screenshots (May Vary Slightly)


Download
Installation
1. Download
Download the files above and place on your server. (This project was developed on Laravel Homestead and I highly recommend you use either that or Laravel Valet, to get the optimal server configuration and no errors through installation.)
2. Environment Files
This package ships with a .env.example file in the root of the project.
You must rename this file to just .env
Note: Make sure you have hidden files shown on your system.
3. Composer
Laravel project dependencies are managed through the PHP Composer tool. The first step is to install the depencencies by navigating into your project in terminal and typing this command:
composer install
4. NPM/Yarn
In order to install the Javascript packages for frontend development, you will need the Node Package Manager, and optionally the Yarn Package Manager by Facebook (Recommended)
If you only have NPM installed you have to run this command from the root of the project:
npm install
If you have Yarn installed, run this instead from the root of the project:
yarn
5. Create Database
You must create your database on your server and on your .env file update the following lines:
DB_CONNECTION=mysql

											  DB_HOST=127.0.0.1

											  DB_PORT=3306

											  DB_DATABASE=homestead

											  DB_USERNAME=homestead

											  DB_PASSWORD=secret
Change these lines to reflect your new database settings.
6. Artisan Commands
The first thing we are going to do is set the key that Laravel will use when doing encryption.
php artisan key:generate
You should see a green message stating your key was successfully generated. As well as you should see the APP_KEY variable in your .env file reflected.
It's time to see if your database credentials are correct.
We are going to run the built in migrations to create the database tables:
php artisan migrate
You should see a message for each table migrated, if you don't and see errors, than your credentials are most likely not correct.
We are now going to set the administrator account information. To do this you need to navigate to this file and change the name/email/password of the Administrator account.
You can delete the other dummy users, but do not delete the administrator account or you will not be able to access the backend.
Now seed the database with:
php artisan db:seed
You should get a message for each file seeded, you should see the information in your database tables.
7. NPM Run '*'
Now that you have the database tables and default rows, you need to build the styles and scripts.
These files are generated using Laravel Mix, which is a wrapper around many tools, and works off the webpack.mix.js in the root of the project.
You can build with:
npm run <command>
The available commands are listed at the top of the package.json file under the 'scripts' key.
You will see a lot of information flash on the screen and then be provided with a table at the end explaining what was compiled and where the files live.
At this point you are done, you should be able to hit the project in your local browser and see the project, as well as be able to log in with the administrator and view the backend.
8. PHPUnit
After your project is installed, make sure you run the test suite to make sure all of the parts are working correctly. From the root of your project run:
phpunit
You will see a dot(.) appear for each of the hundreds of tests, and then be provided with the amount of passing tests at the end. There should be no failures with a fresh install.
9. Storage:link
After your project is installed you must run this command to link your public storage folder for user avatar uploads:
php artisan storage:link
10. Login
After your project is installed and you can access it in a browser, click the login button on the right of the navigation bar.
The administrator credentials are:
Username: admin@admin.com
Password: secret
You will be automatically redirected to the backend. If you changed these values in the seeder prior, then obviously use the ones you updated to.
What's Next?
At this point you have all that you need, you can browse the code base and build the rest of your application the way you normally would. Or you can visit the documentation to get a really good grasp on what's going on behind the scenes.